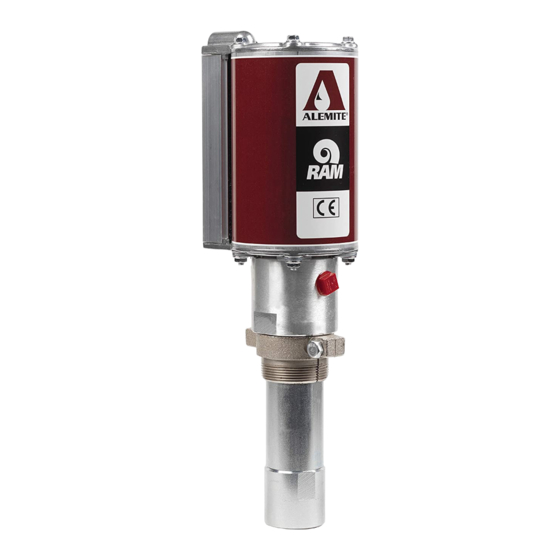
Alemite 9968-A Service-Handbuch - Seite 10
Blättern Sie online oder laden Sie pdf Service-Handbuch für Water Pump Alemite 9968-A herunter. Alemite 9968-A 16 Seiten. Low-pressure stub pump
Auch für Alemite 9968-A: Service-Handbuch (11 seiten)

Assembly
NOTE
Prior to assembly, certain components
require lubrication Refer to
Lubricated components table for
details
NOTE
Refer to fig. 3, page 12 for a section
view of pump tube assembly
Foot valve
1 Install o-ring (26) onto foot valve (27)
2 Install ball (25), spring (24) (small diameter
first), and washer (23) into foot valve
3 Install pin (28) into foot valve
3.1 Make sure pin retains washer
properly and is flush the foot valve
Body
4 Install o-ring (7) onto upper groove of
body (8)
5 Install and seat seal (10) (heel end first) into
bottom of the body
6 Install and seat bearing (11) (small diameter
first) into body
7 Install and seat seal (12) (heel end first) into
body
8 Install spacer (13) (small diameter first) and
washer (14) into body
Step for model 9968-M only
9 Screw adapter (29) (with threadlocker) into
body as required
Lubricated components
Item no
Description
5
O-ring,
/
in ID x
3
1
8
6
Quad-ring, 2
/
in ID x 3 in OD (66,68 mm ID x 76,2 mm OD)
5
8
7
O-ring, 2
/
in ID x 3 in OD (69,85 mm ID x 76,5 mm OD)
3
4
Specialty grease
1)*
Coat the bore of the air motor assembly
1)
Includes a sachet of 393590 grease
Tube and rod
10 Install and seat nylon piston (16) (openings
upward) onto bottom of rod (15)
11 Install ball (17) into rod
NOTE
Do not tighten the valve seat more than
1
/
turn once it contacts nylon piston
4
Distortion of nylon piston can occur
which causes excessive drag on the
tube
12 Screw valve seat (18) (with threadlocker)
into rod (→ fig. IPB 1, page 14)
12.1 Follow thread sealant manufacturer's
recommendations
CAUTION
Install rod into body with a twisting
motion Use care not to damage seals
13 Install rod assembly into bottom of body
13.1 Position the nylon piston flush with the
bottom of the body
14 Install back-up ring (20) (concave upward)
onto tube (21)
15 Install o-ring (19) on top of back-up ring
16 Screw and seat tube assembly into body
16.1 Make sure both rings are not visible
Step for model 9968 and 9968-M only
17 Slide bung adapter (22) onto tube
18 Screw foot valve assembly into tube
18.1 Tighten foot valve assembly
securely to tube and tube to body
/
in OD (9,5 mm ID x 12,7 mm OD)
2
Air piston
19 Install quad-ring (6) onto air piston (4)
20 Install and seat o-ring (5) into bottom of air
21 Place air piston (observe this side up) on top
22 Install screw (2) and washer (3) that secures
Attach air motor to pump tube
23 Clamp pump assembly in a soft-jaw vise at
24 Install bottom cap onto body
25 Install o-ring (7) onto upper groove of body
Install cylinder with care Damage to
quad-ring (6) and/or o-ring (7) can
occur
Hint: Angle cylinder onto quad-ring
26 Install cylinder over body's o-ring and seat it
27 Install top cap onto cylinder
28 Install keeper (9) into groove of body
29 Install one carriage bolt through air motor
30 Install flange nut (1d)
31 Repeat procedural steps 27 - 29 for
Item no
Description
10
Seal, 1
/
in ID x 1
5
16
12
Seal, 1
/
in ID x 1
5
16
19
O-ring, 1
/
in ID x 2 in OD (47,63 mm ID x 50,8 mm OD)
7
8
26
O-ring, 1
/
in ID x 1
11
16
(42,86 mm ID x 47,63 mm OD)
10
piston
of rod
air piston to rod
22.1 Tighten screw to 15 ft lbf (20.7 Nm)
bung adapter (22) or body (8)
CAUTION
properly onto bottom cap
27.1 Use care passing o-ring
28.1 Make sure hole aligns with
carriage bolt (1c)
and through keeper
30.1 Do not tighten flange nut at this time
additional keepers and carriage bolts
/
in OD (33,34 mm ID x 39,69 OD)
9
16
/
in OD (33,34 mm ID x 42,86 mm OD)
11
16
/
in OD
7
8
