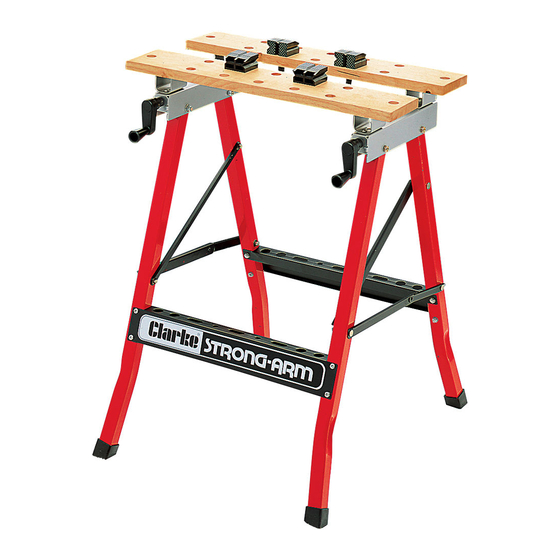
Clarke Strong-Arm CFB600 Montageanleitung - Seite 2
Blättern Sie online oder laden Sie pdf Montageanleitung für Werkzeuge Clarke Strong-Arm CFB600 herunter. Clarke Strong-Arm CFB600 4 Seiten. Folding workbench

Thank you for purchasing this CLARKE Folding Workbench.
Although this product is of rugged construction, it should nevertheless be used
with care and consideration, and the precautions closely followed. You can then
look forward to it giving long and reliable service. Immediately on unpacking the
product, please refer to the parts list and satisfy yourself that all parts are present.
Should there be any deficiency, then you should immediately contact your Clarke
dealer, or CLARKE INTERNATIONAL Parts Department, on 020 8988 7400
Guarantee
This CLARKE product is guaranteed against faulty manufacture for a period of 12
months from the date of purchase. Your receipt is required as proof of purchase.
This guarantee is invalid if the product is found to have been abused in any way,
or not used for the purpose for which it was intended.
Faulty goods should be returned to their place of purchase, no product can be
returned to us without prior permission. This guarantee in no way affects your
statutory rights under common law.
Safety Precautions
•
The maximum capacity of this workbench is lOOkgs. On no account must this
be exceeded.
•
Do not stand on the Cross Members or use as a step ladder, as this could
cause severe damage. Do not stand on top of the workbench.
•
Take care when placing a load on to the Worktable, It should be placed
gently so that the strain is taken up gradually. Do not drop a load carelessly.
•
Do not mount power tools on the workbench.
•
Always check the workbench for wear, damage or looseness of parts before
use.
•
Always ensure you are working on a firm flat surface, and that the table is
completely stable.
Assembly
During assembly, nuts and bolts should be finger tightened only, unless otherwise
specified.
1.
Lay out all components into their respective groups for easy identification.
2.
Lay the two leg sections on their sides, approx. 18" apart so that the feet ends
are splayed outwards away from each other, the long, unhinged side stays,
are on the inside facing each other.
Affach one of the Cross Members by sliding each end in turn over each of the
leg sections. ensuring that the large face of the cross member is uppermost,
(i.e. facing you), and the edge containing slots and holes, is facing the top of
the legs. (i.e. the open end of the cross member is facing the feet).
