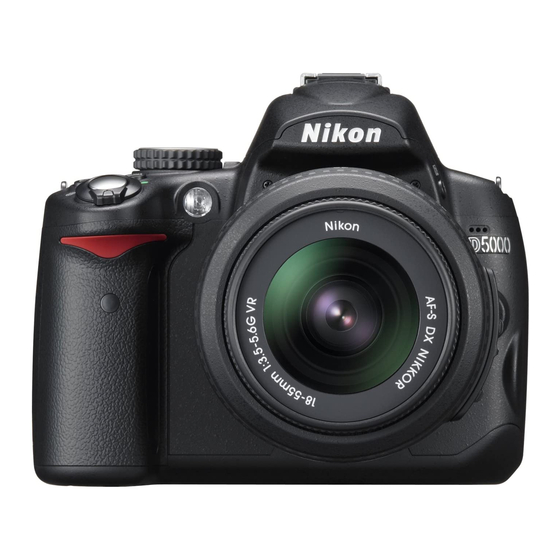
Nikon D5000 Handbuch - Seite 22
Blättern Sie online oder laden Sie pdf Handbuch für Kameraobjektiv Nikon D5000 herunter. Nikon D5000 32 Seiten. Nikon digital slr camera product brochure
Auch für Nikon D5000: Broschüre (9 seiten), Spickzettel (2 seiten), Reparatur-Handbuch (20 seiten)

As you will see when scrolling through the
quality settings, the higher the quality, the
fewer pictures you will be able to fi t on your
card. If you have a 4 GB memory card, the
quality setting we have selected will allow you
to shoot about 550 photographs before you
fi ll up your card. Always try to choose quality
over quantity. Your pictures will be the better
for it.
4. TURN OFF THE AUTO ISO SETTING
The ISO setting in your camera allows you to choose the level of sensitivity of the
camera sensor to light. The ability to change this sensitivity is one of the biggest
advantages to using a digital camera. In the days of fi lm cameras, you had to choose
the ISO by fi lm type. This meant that if you wanted to shoot in lower light, you had
to replace the fi lm in the camera with one that had a higher ISO. So not only did you
have to carry different types of fi lm, but you also had to remove one roll from the
camera to replace it with another, even if you hadn't used up the current roll. Now
all you have to do is go to your information screen and select the appropriate ISO.
Having this fl exibility is a powerful option but, just as with the Quality setting, the
ISO setting has a direct bearing on the quality of the fi nal image. The higher the ISO,
the more digital noise the image will contain. Since our goal is to produce high-qual-
ity photographs, it is important that we get control over all of the camera controls
and bend them to our will. When you turn your camera on for the fi rst time, the ISO
will be set to Auto. This means that the camera is determining how much light is
available and will choose what it believes is the correct ISO setting. Since you want to
use the lowest ISO possible, you will need to turn this setting off and manually select
the appropriate ISO.
Which ISO you choose depends on your level of available or ambient light. For sunny
days or very bright scenes, use a low ISO such as 200. As the level of light is reduced,
raise the ISO level. Cloudy days or indoor scenes might require you to use ISO 400.
Low-light scenes, such as when you are shooting at night, will mean you need to
bump up that ISO to 1600. The thing to remember is to shoot with the lowest setting
possible for maximum quality.
Manual Callout
For a complete chart that shows the
image quality settings with the num-
ber of possible shots for each setting,
turn to page 215 in your user manual.
C H A P T E R 1 : T H E D 5 0 0 0 T O P T E N L I S T
9
