Nikon D90 - Digital Camera SLR Checkliste und Betriebshandbuch - Seite 13

Blättern Sie online oder laden Sie pdf Checkliste und Betriebshandbuch für Kamera-Zubehör Nikon D90 - Digital Camera SLR herunter. Nikon D90 - Digital Camera SLR 25 Seiten. Focal digital camera
Auch für Nikon D90 - Digital Camera SLR: Broschüre & Specs (9 seiten), Betriebshandbuch (20 seiten), Spezifikationen (2 seiten), Benutzerhandbuch (26 seiten), Handbuch (28 seiten), Wie können (6 seiten), Handbücher (30 seiten)
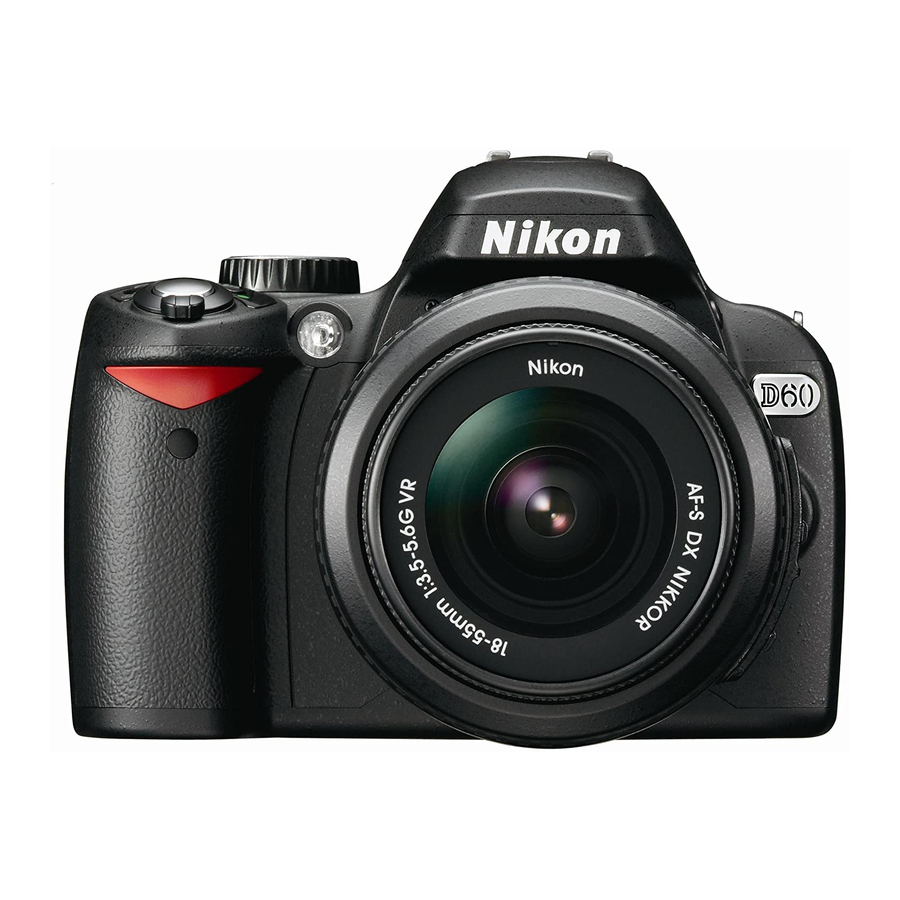
Nikon D90 - Digital Camera SLR Checkliste und Betriebshandbuch
13
Use the left, right, up and down pushbuttons to select the time
interval. Using the right button, move the horizontal bar until it
is below INT. Press the Set push button located in the center of
the direction selector. The hours will blink on and off. Use the
right pushbutton until the seconds blink. Use the up pushbutton
to set the time to the required number of seconds between
photos. Press Set again.
Press the right pushbutton to move the horizontal bar to the right
until it is under N. Press Set. Use the up and down pushbuttons
to enter the number of photos to be taken (10 for example). Press
Set again.
Press the left pushbutton to move the horizontal bar below INT. The unit will now
display the time interval and total number of photos.
The Timer Remote Control cable plugs into the right side of
the Nikon GP-1 GPS. The arrow on the unit's cable faces up
when plugged into the GP-1.
Activate the Timer Remote Control by pushing the
Start/Stop button. Push the button a second time to stop
automatic operation.
Note: the camera must be photographing an adequately lighted subject in order for the
shutter to close automatically. Do not attempt to test the camera and timer remote
control with the lens cap on the camera!
1.8 The Camera and associated equipment are now ready for an aerial photo
mission.
Turn off the camera, AMOD Data Logger and the Remote Timer
Control now that the Equipment Pre-Mission Check has been
completed!