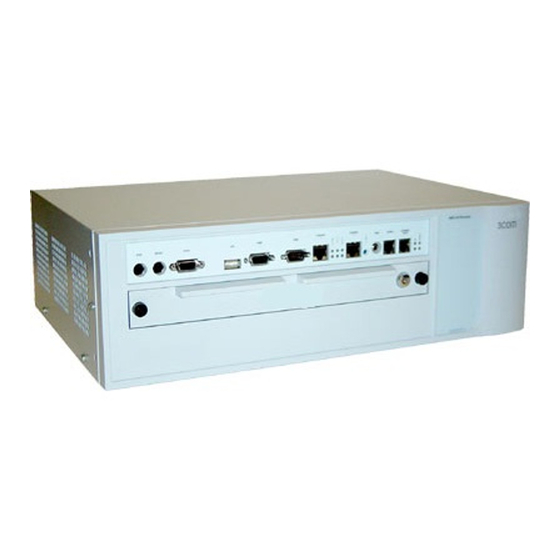
3Com NBX 100 Kurzreferenz-Handbuch
Blättern Sie online oder laden Sie pdf Kurzreferenz-Handbuch für Telefon 3Com NBX 100 herunter. 3Com NBX 100 2 Seiten. Business telephone
Auch für 3Com NBX 100: Freigabemitteilung (8 seiten), Freigabemitteilung (11 seiten), Kurzreferenz-Handbuch (2 seiten), Anweisungen zum Software-Upgrade (4 seiten), Kurzreferenz-Handbuch (2 seiten)

NOTE: This guide assumes that the three programmable
buttons on your NBX Basic Telephone have these default
settings, left to right: Feature, Call Toggle, and Transfer.
Your administrator can change the settings of these buttons,
although doing so limits the features that you can use.
Put a Call on Hold
While you are on a call, press Hold. The display icon that
indicates line 1 or line 2 blinks slowly. To return to the call,
press Call Toggle.
Transfer a Call
1.
While you are on a call, press Transfer.
2.
When you hear the dial tone, dial the number to which
you want to transfer the call.
3.
As soon as you hear ringing, hang up (for a blind
transfer) or wait until the recipient answers, announce
the call, and then hang up.
Make a Conference Call
1.
Place or receive a call.
2.
While you are on the first call, press Feature + 430.
3.
Listen for the dial tone. Dial the third party, wait for
that party to answer, and press Feature + 430 again to
complete the three-party conference call.
4.
Repeat steps 2 and 3 to add a fourth party.
n
A conference can include up to four parties, as long as
at least one party is internal. The conference ends when
the last internal party hangs up.
n
To place your part of a conference call on hold, press
Hold. The other parties can talk to each other, but they
cannot hear you. (Music on Hold is not played.)
n
To transfer a conference call, see Transfer a Call.
n
To drop the last person whom you added to the
conference (for instance, if the called party's telephone
goes to voice mail), press Feature + 431.
Adjust the Volume
n
Handset — Lift the handset, listen to the dial
tone, and press the louder or softer volume
control button repeatedly.
n
Ringer — While the telephone is ringing, press
the preferred volume control button.
Set or Change Your Speed Dials, Call Forward,
Call Pickup, and Off-Site Notification Settings
See the NBX Telephone Guide or NetSet
NBX
Basic Telephone
Quick Reference Guide
™
User Help.
Forward Incoming Calls Directly to Voice Mail
Pick up the handset and press Feature + 440. The display
shows FWD. All incoming calls ring once and are forwarded
to your voice mailbox. To turn the feature off, lift the handset
and press Feature + 440 again.
Do Not Disturb
Pick up the handset and press Feature + 446. All calls go
directly to your call coverage point without ringing on your
telephone. The display indicates that the feature is active. To
turn the feature off, pick up the handset and press
Feature + 440 again.
Call Park — Park a Call
1.
While you are on a call, press Feature + 444.
2.
Dial one of the extensions reserved for Call Park. These
are the factory-installed Call Park ranges:
NBX 100
SuperStack 3 NBX
601–609
6000–6099
n
Ask your administrator if your system has a different
range of Call Park extensions.
n
The call is parked until someone retrieves it, the caller
hangs up, or the Call Park timer expires.
n
If the extension you chose is busy or if the Call Park
timer expires, the call returns to your telephone.
Press Feature + 444 again and try another extension.
Call Park — Retrieve a Parked Call
Dial the Call Park extension to which the call was parked.
Dial from the Internal User Directory
1.
Pick up the handset. Press one of the scroll
buttons on the telephone to view the user
directory in the display.
2.
Scroll up or down until you find the person
whom you want to call, or use the key pad to
jump to a name that begins with a particular letter.
Example: Press 4 once for names that begin with
the letter "G," twice for names that begin with "H,"
or three times for names that begin with "I."
3.
Press one of the buttons below the display:
n
Slct — To dial the extension of the displayed name.
n
Back — (Reserved for future use.)
n
Exit — To close the directory.
900-0072-01
September 2001
