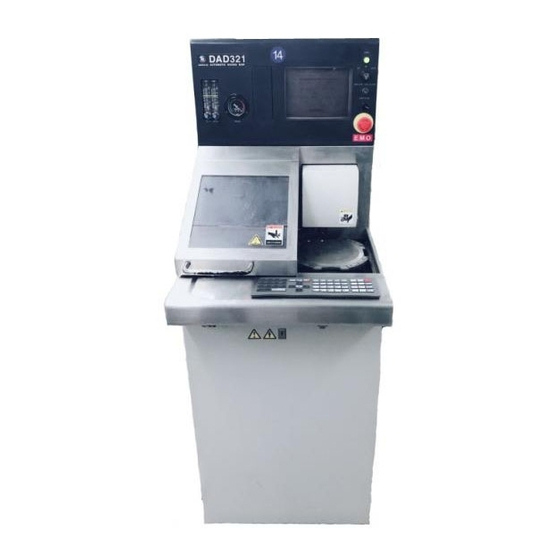
DISCO DAD321 Wartungshandbuch - Seite 14
Blättern Sie online oder laden Sie pdf Wartungshandbuch für Säge DISCO DAD321 herunter. DISCO DAD321 20 Seiten. Automatic dicing/cutting saws
Auch für DISCO DAD321: Handbuch zur Datenpflege (20 seiten)

F. TROUBLESHOOTING ......................................F-1
1. Remedies for Problems Invoking No Error Code Indication
- Problems at Power ON - .................................................................... F-2
1-1. Power Receiving Lamp Problems.................................................................. F-3
1-2. Main Circuit Breaker Problems ...................................................................... F-4
1-3. Main Power Supply Problems........................................................................ F-5
1-4. POWER Lamp (Power-On Lamp) Problems.................................................. F-7
1-5. Monitor Problems........................................................................................... F-8
1-6. Microscope Light Source Problems ............................................................. F-10
1-7. EMO Switch Problems................................................................................. F-12
2. Remedies for Problems Invoking Error Code Indication ..................... F-13
2-1. Error Code Classification ............................................................................. F-14
2-2. Error Code List ............................................................................................ F-15
2-3. Error Remedies ........................................................................................... F-17
2-4. Axis-Related Error Remedies ...................................................................... F-57
G. MAINTENANCE AND
REGULAR INSPECTION ................................. G-1
1. Maintenance Whose Interval Differs Depending on
the Use Conditions of the Device .............................................................G-3
1-1. Cleaning the Non-contact Setup Sensor
(Detection Surface) [Optional Accessory].......................................................G-4
1-1-1. Calling up the NON-CONTACT SENSOR CLEAN screen ...................G-5
1-1-2. Cleaning the non-contact setup sensor ................................................G-7
1-1-3. Cleaning the non-contact setup sensor with abrasives
[Optional accessory] .............................................................................G-9
1-1-4. Adjusting the non-contact setup amplifier........................................... G-11
1-1-5. Completion of cleaning the non-contact setup sensor........................G-15
1-2. Cleaning the Blade Breakage Detector Sensor [Optional Accessory]..........G-16
1-2-1. Removing the blade breakage detector .............................................G-17
1-2-2. Cleaning the blade breakage detector sensor....................................G-19
1-2-3. Adjusting the amplifier of blade breakage detector ............................G-22
1-2-4. Completion of cleaning the blade breakage detector sensor .............G-24
1-3. Cleaning the Spindle....................................................................................G-25
CONTENTS
Contents-4
