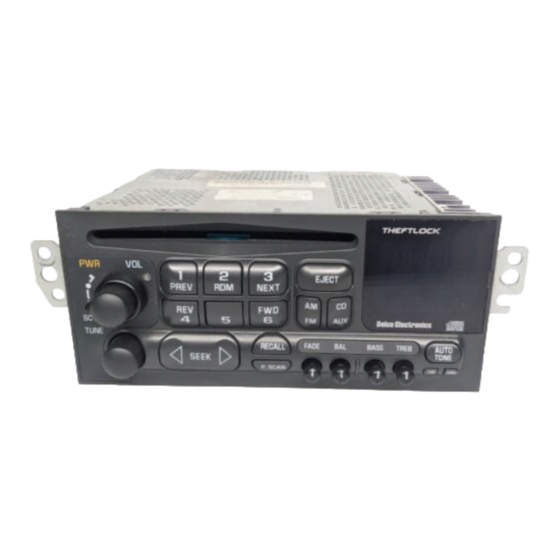
Important wiring revision (4.6.20) update:
Installing at the radio (with either the PXHGM4 or PXHGM4 + USB harness);
allows module to turn on/off with radio PWR button (instead of ignition switch)
which means streaming will continue to play until radio is turned off. In addition;
routing
accessory wire to fuse panel is no longer required.
on page 6. (Revision does not apply to installs in trunk/hatch with PXHGM2
harness- these still require wire routing to fuse panel)
Modules purchased prior to revision (4.6.20); proceed to "where to get
12V ACC/Switched power" below
New version 4.6.20
Where to get 12V ACC/Switched power?
1997-03: Look for 3-pin harness under passenger toe board (may be
covered in black duct tape) – Yellow wire is ACC (See Fig. 5) otherwise
Alternate 12V Acc. Supply on next page.
Note: 3-pin harness is not be present and was omitted in 2004.
Skip to "pairing"
Radio power button
go to
Fig. 5
Alternate 12V Acc. supply:
We recommend taping fuse #22 or #11 of interior fuse box
which is located under passenger toe board next to BMC (See Fig. 5).
circuit seen in Fig. 6 is included for this purpose.
Add-a-fuse
mini-tap
fuse tap circuit
How to use the Add-a-fuse circuit connection
a. Strip 1/4- 3/8" insolation from included accessory wire.
b. Look inside blue connector to see where metal ends. Useful in step d.
c. Insert stripped wire to blue connector (See Fig. 6)
d. Hold wire in place and crimp down (crimping tool, plyers etc.) After
crimp, pull on wire to verify crimp integrity.
e. Remove fuse #22 or #11 (if present) from vehicle fuse box otherwise
skip to step g.
f.
Insert factory fuse to empty slot on add-a fuse circuit
g. Insert add-a-fuse circuit to fuse slot #22 or# 11
Noteworthy: If there is no fuse in slot #22 or #11, empty slot on add-a-fuse
remains empty. With ignition "ON" verify module blue LED is flashing, otherwise
check voltage at fuse slot and/or check add-a fuse crimp integrity,
Fig. 6

