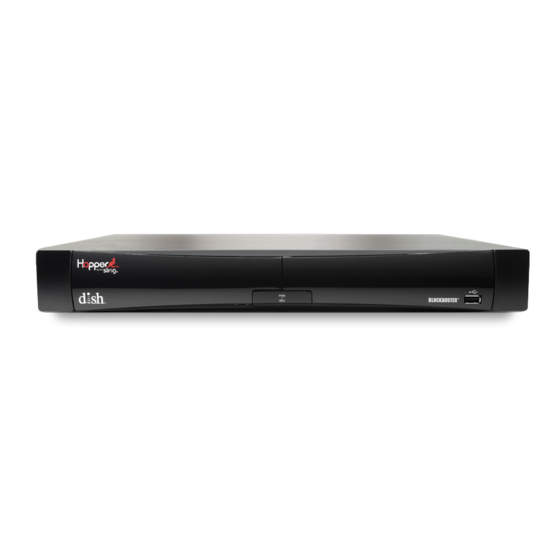
Dish Network Hopper with Sling Einrichtung - Seite 3
Blättern Sie online oder laden Sie pdf Einrichtung für DVR Dish Network Hopper with Sling herunter. Dish Network Hopper with Sling 20 Seiten.
Auch für Dish Network Hopper with Sling: Erste Schritte (2 seiten), Schnellstart-Handbuch (13 seiten)

STEP 2: Label and Disconnect Your Cables
Locate the power cable
A
for the Hopper that
you are replacing, and
unplug it from the wall.
Locate the cable
B
connected to the "Home
Video Network" port
and attach the blue label
to it. Then, unscrew this
cable from the receiver.
Do not unscrew it from
the wall.
Determine the cable
C
you are using to receive
audio/visual signal and
attach the correct label
to it. Then, unplug it from
the receiver, but not from
your TV.
•
Orange label- RCA cables
•
Red label- YPbPr cable
•
Black label- HDMI cable
3
