Arometrix Extraction Finder Benutzerhandbuch - Seite 5
Blättern Sie online oder laden Sie pdf Benutzerhandbuch für Laborausrüstung Arometrix Extraction Finder herunter. Arometrix Extraction Finder 14 Seiten.
Auch für Arometrix Extraction Finder: Schnellstart-Handbuch (2 seiten), Benutzerhandbuch (20 seiten)

2. On the bottom-end of the Sensor Housing, connect a 1.5" Sanitary Flange to Hose Adapter (or
NPT adapter or another appropriate connection) for incoming flow.
3. On the top-end of the Sensor Housing, connect a second 1.5" Sanitary Flange to Hose Adapter for
outgoing flow.
4. Install a bypass, valved bleedport and pressure gauge for optimal safety and performance.
5. Best Practice: Set up an extraction adapter bypass (that can be quickly actuated through 3 way
valves), a vent, and a pressure gauge.
6. Warning: Ensure all connections are properly installed. Ensure the system and installation conform
to all applicable laws and ordinances.
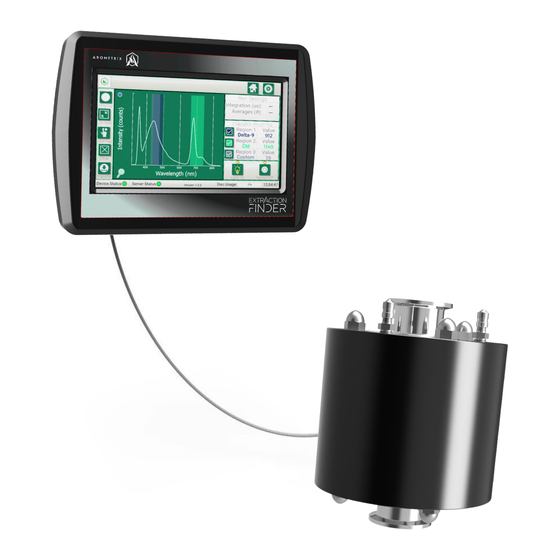
Installation of the Display and wiring involves the following steps (illustrated on our Quick Start Guide):
1. Install the Extraction Finder display(s) outside of the C1D1-designated area. Use the supplied AC
adapter and 10' power supply extension to power your display. This adapter provides clean short
protected power to protect and ensure the accuracy of the internal circuitry.
2. Connect the other end of the sensor cable to the bottom of the display. The display will take a few
seconds to turn. You will see splash screens, followed by the interface screen. Give it ~2-5 minutes
to boot up.
3. You can mount the display to a lab pole using the provided pole-mounting screw; the back of the
display has a pole-mounting bracket pre-installed. Alternatively, it can be placed on a desktop by
placing the unit in a separate tablet stand.
4. In the Settings section on the display's UI:
a. Set Auto Integration by checking the AID (Auto) checkbox
Arometrix, Inc.
arometrix.com/resources
5
