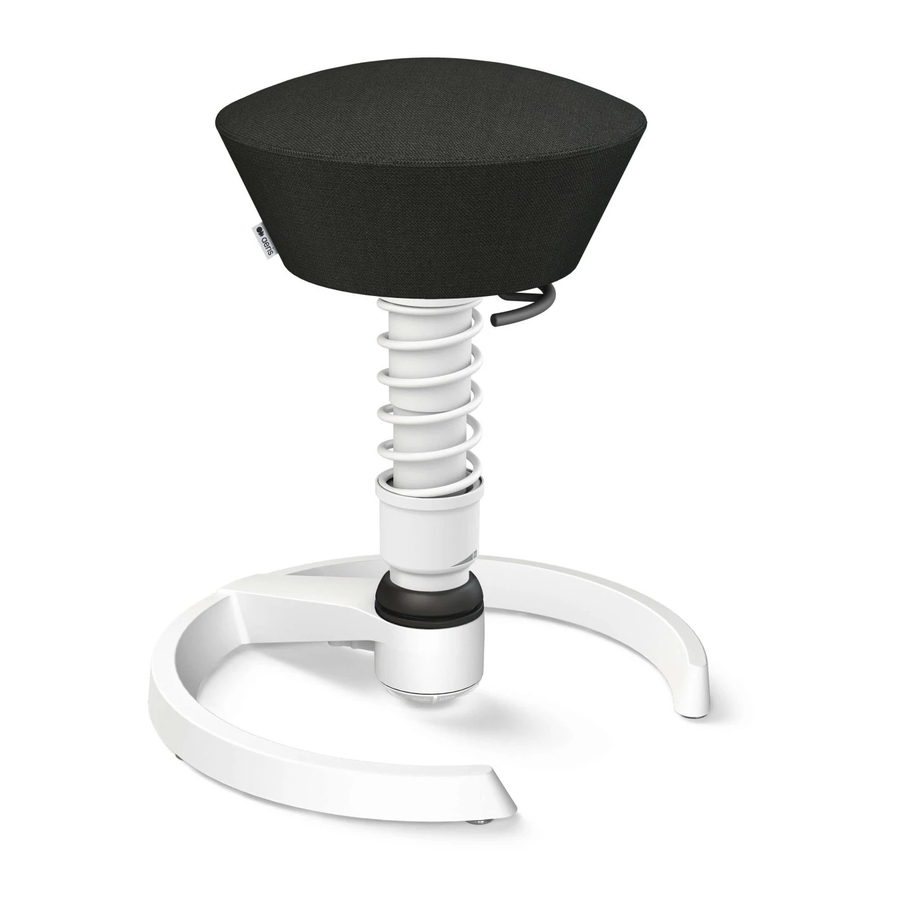
Aeris Swopper Assemble Instruction - Seite 2
Blättern Sie online oder laden Sie pdf Assemble Instruction für Inneneinrichtung Aeris Swopper herunter. Aeris Swopper 2 Seiten. Backrest
Auch für Aeris Swopper: Montageanleitung (2 seiten), Handbuch (19 seiten), Assemble Instruction (2 seiten)

DE:
1) Kippen Sie den swopper vorsichtig auf die Seite in Richtung Fußringöffnung. 2) Mit dem Inbus-
schlüssel den Stöpsel auf dem Steg des Fußrings von unten herausdrücken. 3) Den Lehnenstab so auf
den Fußring stecken, dass der Gewindestab in die Öffnung des Stegs greift. Der Lehnenfuß muss dabei
gut am Fußring aufsitzen. 4) Die beigefügte Mutter von unten auf den Gewindestab schrauben und mit
dem Schlüssel festziehen. Der Lehnenstab sollte sich nicht mehr bewegen lassen. 5) Richten Sie den
swopper wieder auf. Die Rückenlehne mit dem entsprechend geformten Gegenstück auf das Gummi-
lager am oberen Ende des Lehnenstabes stecken. 6) Die Rückenlehne von vorne mit beiliegenden
Schrauben am Gummilager festschrauben. Fertig!
Montage des Bezugs für die Lehne DYNAMIC (Zusatz-Ausstattung)
Den geöffneten Bezug über die Lehne ziehen. Achten Sie bitte sorgfältig darauf, dass der Klett-
verschluss keinen Kontakt zu Innenwattierung hat. Den Klettverschluss schließen und den Reis-
verschluss zuziehen. Fertig!
UK:
1) Tilt the swopper carefully in the direction of the opening in the base ring. 2) Using the Allen key
supplied, from below you press out the plug in the base of the base ring. 3) Set the backrest rod on the
base ring so that the setscrew engages in the opening in the base. The backrest base must sit firmly on
the base ring. 4) Set the nut provided from below onto the setscrew and screw tight using the spanner.
The backrest rod should have no play at all.5) Put the swopper upright again. Fit the backrest with the
corresponding formed counterpart onto the rubber bearing at the top end of the backrest rod. 6)
Fasten the backrest to the rubber bearing from the front using the screws supplied and screw tight.
That's it!
How to fit the cover for the DYNAMIC backrest (accessory)
Pull the open cover over the backrest. Be very careful to ensure that the Velcro® fastener does not
come into contact with the inside padding. Fasten the Velcro® fastener and close the zip fastener.
That's it!
NL:
1) Kantel de swopper voorzichtig in de richting van de voetringopening. 2) Druk met de inbussleutel de plug op het
verbindingssturk van de voetring van onderaf naar boven. 3) Steek de rugleuningstang zo op de voetring, dat de schroef-stand
in de opening van het verbindingsstuk zit. De voet van de rugleuning moet volledig in de voetring zitten. 4) Schroef de
meegeleverde moer van onderaf op de schroefstang en draai deze met de steeksleutel vast. De ugleuningstang moet hierna
onwrikbaar vastzitten. 5) Zet nu de swopper weer rechtop. Steek de rugleuning met het overeenkomstig gevormde tegenstuk
op het rubberen uiteinde van de rugleuningstang. 6) Schroef de rugleuning van voren met de meegeleverde schroeven aan
het rubberen uiteinde vast. Klaar!
Aanbrengen can de bekleding voor de rugleuning DYNAMIC (extra accessoire)
Trek de geopende bekleding over de rugleuning. Let er goed op dat het klittenband niet met de wattering in aanraking komt.
Sluit het klittenband en trek de rits dicht. Klaar!
FR :
1) Inclinez le swopper du côté de l'ouverture du pied circulaire. 2) A l'aide d'une clé à six pans, procédez à l'extraction du
cache situé sur le pied circulaire au niveau du rayon. 3) Approchez la colonne du dossier de façon à ce que la tige filetée
s'engage dans l'ouverture au niveau du rayon. Appliquez la colonne du dossier bien à plat contre le pied circulaire. 4) Prenez
l'écrou que vous trouvez dans la fourniture et vissez-le par le bas sur la tige filetée de la colonne du dossier. Serrez-le avec le
clé. Vous ne devriez plus pouvoir bouger la colonne de dossier. 5) Redressez le swopper. Emboîtez le dossier sur le palier en
caoutchouc situé en haut de la colonne de dossier. 6) Fixez le dossier au palier en caoutchouc à l'aide des vis fournies.
Termine !
Montage de la housse de dossier DYNAMIC (option)
Habillez le dossier avec la housse que vous avez dépliée au préalable. Veillez à ce que le scratch de fermeture n'entre pas en
contact avec le ouatage intérieur. Fermez le scratch et fermez la fermeture éclair. Termine !
IT:
1) Adagiare lentamente lo swopper a terra verso il lato aperto del piedistallo tondo. 2) Premendo dal basso con la chiave
esagonale fare fuoruscire il tappino dal braccio del piedistallo. 3) Inserire l'astina del supporto curvo nel piedistallo in modo
che la parte filettata entri nel foro del braccio. Il piede del supporto curvo deve poggiare perfettamente sul piedistallo. 4) Ora
avvitare da sotto il dado allegato all'astina filettata e stringerlo con la apposita chiave. Il supporto curvo dello schienale non
deve più muoversi. 5) Raddrizzare lo swopper. Accoppiare lo schienale alla coppa gommata sull'estremità superiore del
supporto curvo incastrando la corrispondente presa dello schienale. 6) Fissare lo schienale al supporto gommato dal davanti
con le viti allegate. Finito!
Come montare il rivestimento dello schienale DYNAMIC (accessorio suppl.)
Sovrapporre il rivestimento aperto allo schienale facendo molta attenzione a che la chiusura a velcro non tocchi la superficie
ovattata interna. Comprimere la chiusura a velcro e chiudere la cerniera. Finito!
1-2
3-4
5-6
