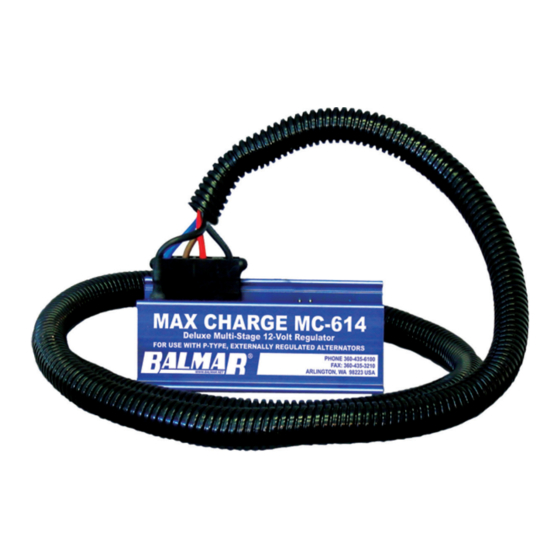
Balmar MAX CHARGE MC-614 Installations- und Betriebshandbuch - Seite 4
Blättern Sie online oder laden Sie pdf Installations- und Betriebshandbuch für Controller Balmar MAX CHARGE MC-614 herunter. Balmar MAX CHARGE MC-614 20 Seiten. Multi-stage voltage regulator
Auch für Balmar MAX CHARGE MC-614: Installations- und Betriebshandbuch (20 seiten), Installations- und Betriebshandbuch (9 seiten), Schnellstart-Handbuch (2 seiten)
Installation by Wire
NOTE: Must install wires listed on this page for regulator to operate.
Install BLACK Ground Wire
The BLACK Ground Wire #1 in diagram at right is included in the four-wire Ford-style plug on the wiring
harness and is factory installed on regulator packages designated with "H" at the end of the model
number. The other end of the Ground Wire is fitted with a ring terminal connector. In most applications,
this wire can be connected directly to the alternator's ground terminal post. For best accuracy ground as
close to the battery as possible. Both the alternator and regulator must be connected to system ground.
Install RED Power Wire
The RED Field Wire #2 in diagram at right is included in the four-wire Ford style plug and is factory
installed on regulator packages designated with "H" at the end of the model number. The other end of
the Power Wire is fitted with a ring terminal connector. In most applications, this wire can be connected
directly to the alternator's positive output post. When a diode-type battery isolator is used, the power
and voltage sense (#9) wires must be connected to the battery side of the battery isolator. Power Wire is
equipped with 10-amp ATC type fuse. The Power Wire must be fused to ensure against damage to the
voltage regulator.
Install BROWN Ignition Wire
The BROWN Ignition Wire #3 in diagram at right provides ON/OFF voltage for the regulator. This
wire is included in the Ford-style plug at the regulator end of the wiring harness. The other end of the wire is fitted with a butt
connector. Typically, the ignition wire is connected to the ON side of the ignition switch. This may be at the actual switch, or to
a wire in the existing engine wiring loom that delivers switched voltage from the ignition switch. In some cases, an oil pressure
switch may be used to activate the regulator. In either case, the regulator's ignition wire must see zero volts when the engine
ignition is switched off.
Install BLUE Field Wire
The BLUE Field Wire #4 in diagram at right provides regulated current to control alternator output. The wire is included in the
wiring harness Ford-style plug and is pre-connected at the regulator. At the other end of the wire, you'll find either a plug or a
ring terminal, depending on the alternator's field terminal connection. Attach the field wire to the alternator's field terminal.
Install Alternator Temperature Sensor
The optional Alternator Temperature Sensor (MC-TS-A) allows your MC-614 voltage regulator to monitor your alternator
temperatures and limit output if safe operating levels are exceeded. The MC-614 uses active temperature regulation to
maximize high-temperature output. The MC-TS-A sensor includes a 54" cable, a sensing attachment lug, and positive and
negative regulator plug-in connectors. To install the MC-TS-A:
1.
Connect the sensor lug to one of the four bolts that hold the alternator's front and rear cases together. If a Balmar alternator
is installed use the predrilled location provided on the rear case. Extend sensor cable to the regulator. The cable can be
included within the regulator's wiring harness, or can be run alongside the harness and attached with cable ties.
2.
Connect the temperature sensor to the Alt. Temp. terminals on the regulator. It is
essential that the terminals are connected to the correct pin. Connect the red wire to the
positive terminal #6 and the black wire to the negative terminal #5.
Install Positive Battery Sense Wire
Included with the MC-614 wiring harness kit is a fused wiring pigtail which features a ring
terminal at one end and a butt connector at the other. In the center is a 1-Amp ATC-type fuse
and fuse holder. This wire MUST be connected at the (#9) Positive Battery Sense Terminal.
A female quick connect plug has been pre-attached on the terminal (#9) pin. To complete
installation of the sense circuit:
1.
Identify the favored location for battery sensing. In most instances, the positive output of the alternator, the common side of
a battery switch, or the positive post of the battery being charged will work best. If the batteries are connected to a battery
isolator, the positive sense wire must be connected to the battery side of the isolator, preferably at the larger of the battery
banks.
2.
Attach the included wiring pigtail with 1-amp fuse to a length of wire of sufficient length to reach the desired sensing
location. If the length of the wire between the regulator and the sensing location is 8' or less, a 16-gauge wire is
satisfactory. If the wire exceeds 8', increase the wire size to 14 gauge.
3.
Remove the female 1/4" spade terminal from the terminal (#9) pin. Crimp the spade terminal to the sense wire and
reconnect the spade to the (#9) pin.
www.balmar.net / Customer Service: +1 (360) 435-6100 x1 / Technical Support: +1 (360) 435-6100 x3
Tech Service is available Monday - Friday (8:30am - 7:30pm EST)
14
12
10
7
5
4
17
16
4
15
3
13
11
2
9
8
1
6
Magnetic
Reed Switch
17
16
14
12
10
9
7
5
4
15
3
13
11
2
8
1
6