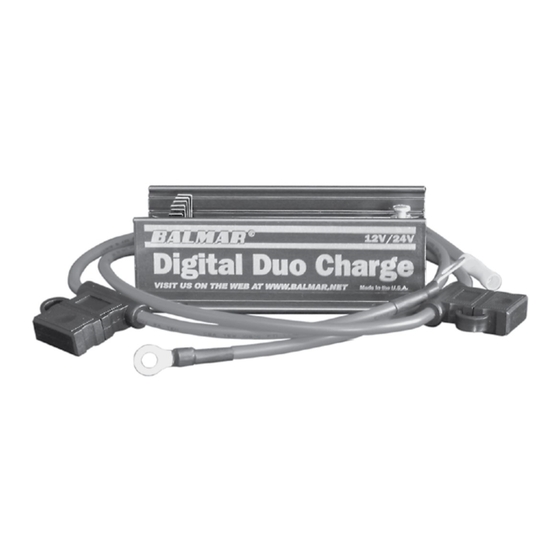
Balmar Digital Duo Charge Handbuch für Installation und Betrieb - Seite 6
Blättern Sie online oder laden Sie pdf Handbuch für Installation und Betrieb für Batterieladegerät Balmar Digital Duo Charge herunter. Balmar Digital Duo Charge 8 Seiten.
Auch für Balmar Digital Duo Charge: Installations- und Bedienungshandbuch (4 seiten)

Programming The Duo Charge
The Duo Charge features four selectable program types for the following battery types: standard flooded, deep cycle flood-
ed, gel and absorbed glass mat (AGM). Program changes are made by activating a magnetic reed switch located on the Duo
Charge circuit board with the magnetic tipped programming tool provided. In addition to battery type, the Duo Charge
can be programmed to support 12-volt or 24-volt charging systems.
Programming For System Voltage - 12 to 24-Volt
The Duo Charge is preset at the factory for 12-volt operation. To adjust the Duo Charge for 24-volt charging:
1.
Remove the wire supplying the ON/OFF terminal from the ON/OFF pin.
2.
Place the magnetic end of the programming screwdriver on the RED dot (or against one or the other end of the reed
switch).
3.
Reconnect the wire to the ON/OFF terminal while continuing to hold the magnet against the RED dot. After a couple
of seconds, the #3 green LED will illuminate.. Continue to hold the magnet to the switch.
4.
After a few additional seconds, the #3 green and #4 green will both illuminate. Remove the magnet from the switch.
Wait until the green LEDs go dark.
5.
Re-activate and hold the magnet to the switch. After a couple of seconds, the #3 green LED will illuminate. Continue
to hold. After several seconds, the #3 green and #5 green LEDs will illuminate. Release the magnet. After saving the
program change, the display will indicate 24-volt mode by scrolling from left to right (green to amber) at start up.
Programming For System Voltage - 24 to 12-Volt
1.
Remove the wire supplying the ON/OFF terminal from the ON/OFF pin.
2.
Place the magnetic end of the programming screwdriver on the RED dot (or against one or the other end of the reed
switch).
3.
Reconnect the wire to the ON/OFF terminal while continuing to activate the reed switch with the magnet. After a
couple of seconds, the #3 green LED will illuminate.. Continue to hold the magnet to the switch.
4.
After another couple of seconds, the #3 green and #5 green will both be illuminated. Remove the magnet from the
switch. Wait until the green LEDs go dark.
5.
Re-activate and hold the magnet to the switch. After a couple of seconds, the #3 green LED will illuminate. Continue
to hold. After several seconds, the #3 green and #4 green LEDs will illuminate. Release the magnet. After saving the
program change, the display will indicate 12-volt mode by scrolling from right to left (amber to green) at start up.
Programming For Battery Type
The Duo Charge's factory default program is suitable, right out of the box, for the majority of cranking-type batteries – and
will require no programming after installation. Some technologies, however, may benefit from some voltage adjustment.
Four programs, based on standard flooded, deep cycle flooded, gel and AGM battery types are included in the Duo Charge's
programming mode. To select the program that's best suited to your battery type:
1.
Ensure that the #3 green LED is illuminated. Place the magnetic end of the programming screwdriver on the RED dot
(or against one or the other end of the reed switch).
2.
Continue to hold the magnet against the switch. After several seconds, the #3 green LED will go dark, and the #1 and
#2 amber LEDs will illuminate.
3.
Continue to hold the magnet against the switch. After several seconds, the #1 and #2 amber and the #3 LEDs will be
illuminated.
4.
Continue to hold the magnet to the switch. After a few more seconds, the #3 green light will go dark and the next green
LED will illuminate.
5.
When the green LED indicating your desired battery type is illuminated, release the switch by removing the magnet.
6.
Should you need to change the programming se-
lection, activate and hold the switch until the #1
and #2 amber and #6 green LEDs are illuminated.
Release the switch until the LEDs go dark. Re-
activate the switch. The LEDs will illuminate, and
the green LEDs will scroll the opposite direction.
6
