BALTENSWEILER HALO LED S Montage- und Betriebsanleitung - Seite 13
Blättern Sie online oder laden Sie pdf Montage- und Betriebsanleitung für Lantern BALTENSWEILER HALO LED S herunter. BALTENSWEILER HALO LED S 16 Seiten.
Auch für BALTENSWEILER HALO LED S: Montage- und Betriebsanleitung (5 seiten)
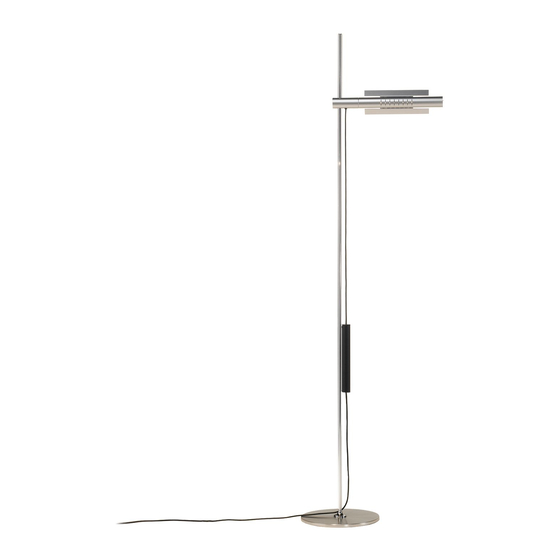
Mounting instructions
EN
Important:
Do NOT remove the pre-assembled mounting peg in the luminaire
head - it is needed to mount the luminaire head!
(Variant 1 - mounting the luminaire head using the mounting peg).
Do not connect the luminaire to the power supply
until it is fully mounted and placed.
Mounting the luminaire head variant 1 (with mounting peg):
4
The luminaire head can be easily fitted onto the rod with the help
of the mounting peg.
Check the correct position of the black mounting peg in the tube's
hole - it must be positioned precisely in this hole up to the limit
stop. (If the mounting peg is missing, the luminaire head has to be
mounted according to variant 2.)
Align the luminaire head horizontally.
4a
Mount the luminaire head carefully on top of the rod and slide
4b
downwards; position the luminaire head at the desired height.
The mounting peg is pushed out of its original position in the
4c
tube during this procedure and remains on the top end of the
rod. Remove the mounting peg.
Mounting the luminaire head variant 2 (w/o mounting peg):
5
Press and align the spring cover so that the hole in the stopper
5a
is in line with the hole in the tube.
Slide the luminaire head onto the rod and position it at the
5b
desired height.
Do NOT press the luminaire head down at its end - risk of breaking!
6
Once the luminaire is fully mounted and placed, it may be connected to the power supply.
for the luminaire head
−
6
Tube
5a
5b
Slide the luminai-
re head onto the
rod.
Spring cover
Mounting peg black
(pre-assembled).
Montagezapfen
(vormontiert)
6
4a
4b
Upper button:
On / Off / Dimming
Control gear
(holds magnetically)..
Main switch
4c
Spring cover
Rod
11