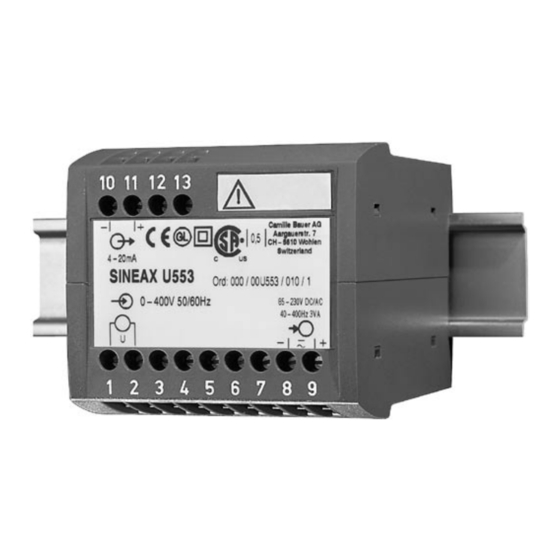
Camille Bauer SINEAX U553 Betriebsanleitung - Seite 10
Blättern Sie online oder laden Sie pdf Betriebsanleitung für Messwertaufnehmer Camille Bauer SINEAX U553 herunter. Camille Bauer SINEAX U553 12 Seiten. Transducer for ac voltage
Auch für Camille Bauer SINEAX U553: Betriebsanleitung (12 seiten)

4. Mounting
The SINEAX U 553 can be mounted on a top-hat rail.
Note "Environmental conditions" in Section
"3. Technical data" when determining the place of
installation!
Simply clip the device onto the top-hat rail (EN 50 022) (see
Fig. 1).
Fig. 1. Mounting onto top-hat rail 35 × 15 or 35 × 7.5 mm.
5. Electrical connections
Connect the electrical conductors acc. to the instructions
on type label.
Make sure that all input cables are not live (po-
tential-free) when making the connections!
Impending danger by high input voltage or
high power supply voltage!
Also note that, ...
... the data required to carry out the prescribed
measurement must correspond to those mar-
ked on the nameplate of the SINEAX U 553
(
measuring input,
power supply, see Fig. 5)!
... the resistance in the output circuit may not over-
range the current output value
max. [kΩ] ≤
R
ext
(I
= current output value)
AN
and not underrange the voltage output value
min. [kΩ] ≥
R
ext
(U
= voltage output value)
AN
... the measurement output cables should be twisted
pairs and run as far as possible away from heavy
current cables!
In all other respects, observe all local regulations when
selecting the type of electrical cable and installing them!
10
measuring output and
15 V
I
[mA]
AN
U
[V]
AN
2 mA
– +
10
11
12 13
1
2
3
4 5
6
7
8
9
–
U
Fig. 2. Power supply to
terminals 8 and 9.
– +
10
11
12 13
1
2
3
4 5
6
7
8
9
U
Fig. 4. Power supply internal
from measuring input, power
supply not required.
Measuring output
Output signal
10
11
12 13
–
+
4-20mA
SINEAX U 553
Ord: 000/00U553/010/1
0 - 400V / 50/60 Hz
U
1
2
3
4 5
6
Measuring input
Measuring range
Measured quantity
Fig. 5. Declaration to type label
– +
–
10
11
12 13
1
2
3
4 5
6
7
8
9
U
Fig. 3. Power supply connected
to the low tension to terminals
12 and 13.
U
= Measuring input
= Measuring output
= Power supply
Calibration seal
0,5
Conformity
marks
85-230V DC/AC
40-400 Hz 3 VA
Works No.
+
–
7
8
9
Power
supply
