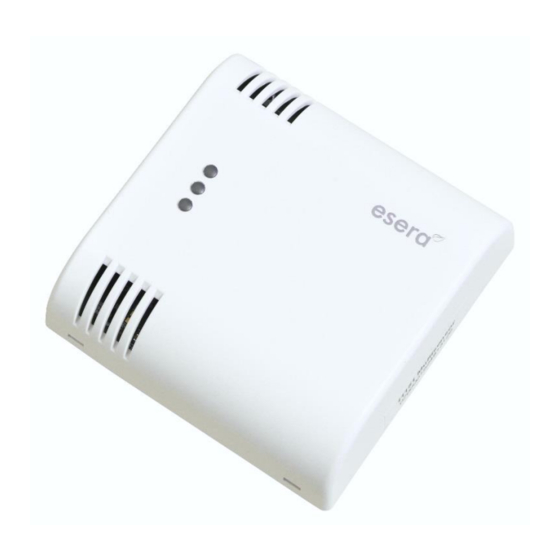
esera automation Multisensor Pro I Benutzerhandbuch - Seite 6
Blättern Sie online oder laden Sie pdf Benutzerhandbuch für Zubehör esera automation Multisensor Pro I herunter. esera automation Multisensor Pro I 8 Seiten. 1-wire sensor for temperature, humidity and air quality w/auto-e-connect

16
Measuring accuracy
The sensor elements within the 1-Wire Multisensor Pro I are pre-calibrated. Please note that the
measurement accuracy to the measurement range limits and at very high and low operating temperatures
may be reduced.
17
Pin assignment
The 1-Wire Multisensor Pro is supplied with screw terminals
connected. The connection terminal is intended for solid cables
with a cross-section of 0.2 to 2.5qmm or finely stranded cables
with a cross-section of 0.2 to 1.5qmm. For the connection we
recommend a slotted screwdriver of size 2.5x75.
The pin assignment is printed on the printed circuit board.
The correct polarity must be observed during connection.
The Multisensor must be connected with three cables (ground,
1-Wire Data and 5V). Parasitic mode is not supported.
Note: Basics and tips for the 1-Wire bus system can be found
on the ESERA website at
grundlagen/
18
Assembly
The installation site must be protected from direct moisture (e.g. dripping water) and draughts. The unit may
only be used in dry indoor areas and in protected outdoor areas.
A draught-free location must be selected for installation. The device is intended for installation inside a living
room as a stationary device. The 1-Wire Multisensor can be mounted on a flush-mounted box using clever
housing cut-outs.
19
1-Wire network cabling
No special requirements are placed on the cable used for short connection lengths. With unshielded cable,
such as J-Y(St)Y telephone cable 4x2x0.8, 1-Wire networks can be set up in star or tree cabling of approx.
30 - 80m in total. We recommend the use of CAT 5-7 network cables for the installation. You will find a
recommendation for cable assignment in the download section of this article.
Shielded cable, e.g. CAT5 or CAT6 cable, should be used in smart homes, commercial buildings and
industrial environments. This ensures very good system stability. Another advantage of cabling with CAT
cables is that a linear bus topology can be achieved despite star-shaped cable routing in buildings. This is
only possible due to the 8-wire cable structure of the CAT cable. We recommend the linear topology.
When using CAT7 cables, the maximum possible cable length of the entire 1-wire network is reduced due to
the stronger shielding and the resulting higher cable capacity.
For star or tree cabling with CAT cable, a total length of approx. 50-100m can be calculated, which
corresponds to 1-2 floors in a residential building.
In principle, unnecessary cable connections, branches or cable extensions should be avoided when wiring.
Each joint or terminal connection reduces the maximum available network size.
The special feature of wiring air quality sensors with 1-wire BUS technology is that all sensors are operated
via a three-wire cable. Both, the power supply and the data communication take place via the bus line.
20
Operating conditions
The Multisensor is intended for temperature and humidity measurement of air and gases in indoor areas,
such as living rooms, offices, workshops or public facilities. The measured values given under technical data
are limit data for the entire 1-Wire Multisensor and must not be exceeded or fallen below, otherwise the
Multisensor may be damaged.
21
Disposal note
Do not dispose of the device within the household waste!
According to the directive concerning old electrical and electronic appliances,
electronic devices must be disposed of via the collecting points for old electronic
appliances!
All rights reserved. Reproduction as well as electronic duplication of this user guide, complete or in part, requires the written consent of
ESERA GmbH. Errors and technical modification subject to change. ESERA GmbH, ESERA-Automation 2020
www.esera.de
https://www.esera.de/1-wire-
11151 V2.0 R1.0 Manual
Page 6 of 8
