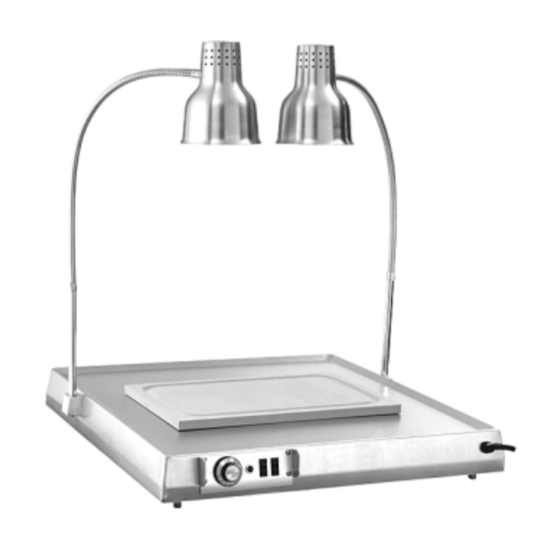
Alto-Shaam Hot Carving Shelf 100-HSL/BCS-2S Handbuch für Installation, Betrieb und Wartung - Seite 4
Blättern Sie online oder laden Sie pdf Handbuch für Installation, Betrieb und Wartung für Speisenwärmer Alto-Shaam Hot Carving Shelf 100-HSL/BCS-2S herunter. Alto-Shaam Hot Carving Shelf 100-HSL/BCS-2S 19 Seiten. Hot carving shelf, electric
Auch für Alto-Shaam Hot Carving Shelf 100-HSL/BCS-2S: Spezifikationsblatt (2 seiten), Installations- und Betriebshandbuch (20 seiten), Handbuch für Installation, Betrieb und Wartung (16 seiten)

S I T E I N S TA L L AT I O N
The carving shelf, complete with unattached
items and accessories should be checked to ensure
all the following items have been received as
standard with each unit.
4: 1" (25mm) Legs
4: Nylon Screws
1: Cutting Board
2: Lamps
4: Sneeze Guard Mounting Screws
(some models)
Alto-Shaam hot carving shelves are designed
for the purpose of maintaining hot food at a
temperature for safe consumption. The unit must
be installed on a level surface in a location that will
permit the equipment to function for its intended
purpose and allow adequate access for proper
cleaning and maintenance.
The carving shelf must not be installed in any
area where it will be affected by steam, grease,
dripping water, high temperatures, or any other
severely adverse conditions.
N E T W E I G H T
40 lbs
with sneeze guard 45 lbs.
(18 kg)
TO PREVENT PERSONAL INJURY,
USE CAUTION WHEN MOVING OR
LEVELING THIS APPLIANCE.
I N S T A L L A T I O N
1.
WHEN THE UNIT IS EQUIPPED WITH A
SNEEZE GUARD:
Refer to the Service Views located in this
manual. Swing the sneeze guard up to the
proper position and secure each side with the
two (2) additional screws provided. Tighten
all four (4) screws to mount the sneeze guard
securely.
The hot carving shelf is designed to be
2.
mounted directly on top of a Halo Heat
cook/hold oven or holding cabinet. The shelf
can also be used as a free-standing unit
without the Halo Heat cabinet.
A.
B.
(20 kg)
Level the appliance from side-to-side and
3.
back-to-back with the use of a spirit level.
#802/ 1 Op eratio n & Care Manual •
CABINET MOUNTED SHELVES:
Install the four (4) nylon screws in the leg
mounting holes to protect the top surface of
the cabinet and to provide a more stable
placement between the shelf and the
cabinet. Do not install the 1" (25mm)
equipment legs. Place the carvery on top
of the cabinet.
FREE-STANDING SHELVES:
Install the 1" (25mm) legs before operating
the shelf. Failure to install the 1" legs prior
to heating the shelf could result in damage
to the surface on which the shelf is placed,
may pose a potential fire hazard, and
nullifies the validity of the UL listing mark.
3.
