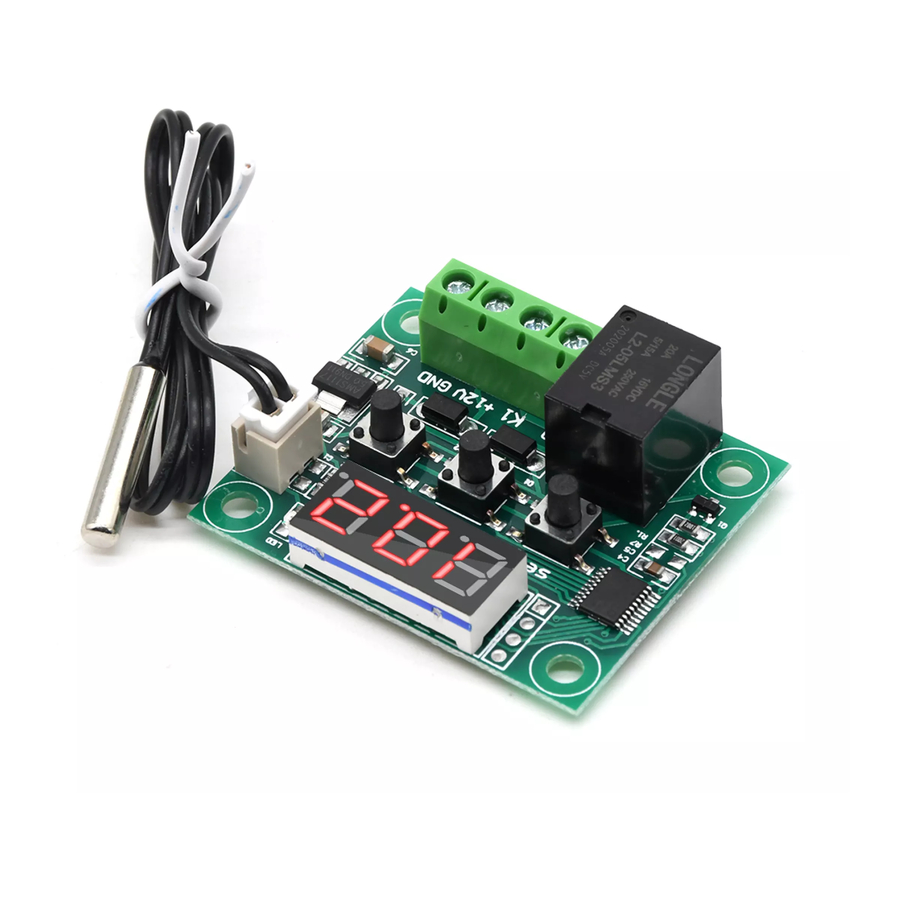
Diymore W1209 Schnellstart-Handbuch - Seite 2
Blättern Sie online oder laden Sie pdf Schnellstart-Handbuch für Temperaturregler Diymore W1209 herunter. Diymore W1209 2 Seiten. 12v -50 degrees to 110 degrees c digital thermostat temperature controller module
Auch für Diymore W1209: Schnellstart-Handbuch (3 seiten)

Setting the trigger temperature:
To set the trigger temperature press the button marked 'SET'. The display will flash. You can now set a trigger temperature in
0.1°C increments using the '+' and '-' buttons. If no buttons are pressed for approximately 2 seconds the trigger temperature will be
stored and the display will return back to the current temperature.
SETTING THE PARAMETERS:
To set any parameter first press the 'SET' button for at least 5 seconds. The display should now display 'P0'. This represents
parameter P0. Pressing the '+' or '-' buttons will cycle through the various parameters (P0 to P6). Pressing the 'SET' button while any
of the parameters are displayed will allow you to change the value for that parameter using the '+' and '-' buttons (see below).
When finished setting a parameter press the set button to exit that option. If no buttons are pressed for approximately 5 seconds
the thermostat will exit the parameter options and will return back to the default temperature display.
Setting the cooling or heating parameter P0:
The parameter P0 has two settings, C and H. When set to C (default) the relay will energize when the temperature setpoint is
reached. Use this setting if connecting to an air-conditioning system. When set to H the relay will de-energize when the
temperature is reached. Use this setting if controlling a heating device.
Setting the hysteresis parameter P1:
This sets how much change in temperature must occur before the relay will change state. For example, if you set the hysteresis
value at 1C and the desired temperature on the thermostat at 20°C, the relay will be deactivated at 21°C (20°C+1°C)
is activated again when the temperature drops to 20°C. Setting this hysteresis to a higher value helps stop the thermostat from
continually triggering when the temperature drifts around the trip temperature.
Setting the upper limit of the thermostat parameter P2:
This parameter limits the maximum trigger temperature that can be set, less than 110 degrees. It can be used as a safety to stop
an excessively high trigger temperature from accidentally being set by the user.
Setting the lower limit of the thermostat parameter P3:
This parameter limits the minimum trigger temperature that can be set, more than -50 degrees. It can be used as a safety to stop
an excessively low trigger temperature from accidentally being set by the user.
Setting temperature offset correction (calibration) parameter P4:
Should you find there is a difference between the displayed temperature and the actual temperature (for instance if the
temperature probe is on a long run of cable) you can make minor corrections to the temperature reading with this parameter.
Calibration allows you to adjust the temperature in 0.1° increments.
Setting the trigger delay parameter P5:
This parameter allows for delaying switching of the relay when the trigger temperature has been reached. The parameter can be
set in one minute increments up to a maximum of 10 minutes. If you set 1 minute, the relay is activated until one minute after
reaching the set temperature.
Setting the high temperature alarm parameters P6 and P7:
Setting the alarm to ON through parameter P6, and setting a temperature value for this parameter via P7, will cause the relay to
switch off when the the temperature reaches this setting. The display will also show '---' to indicate an alarm condition. The relay
will not re-energize until the temperature falls below this value. The default setting for P6 is OFF. (NOTE : Some models set the
temperature alarm value through P6, and do not have a P7 parameter.)
(1)
NOTE REGARDING HYSTERESIS
subtracted from, or added to, the temperature setpoint. For example, when P0 = "C", hysteresis (P1) is set to "2" and the
setpoint is 28, either the relay will activate at 28 and deactivate or 26 (setpoint - hysteresis), or it will activate at 30
(setpoint + hysteresis), and deactivate at 28. A quick test will confirm which firmware version your module has.
To reset, press and hold hold both + and – buttons simultaneously. After 5 seconds it will reset to factory defaults.
SETTING:
D epending upon the firmware version of your module, the hysteresis is either
Copyright © 2017-2019 Envista Mall
www.envistiamall.com
EM-THERM-0004
(1)
. The relay
