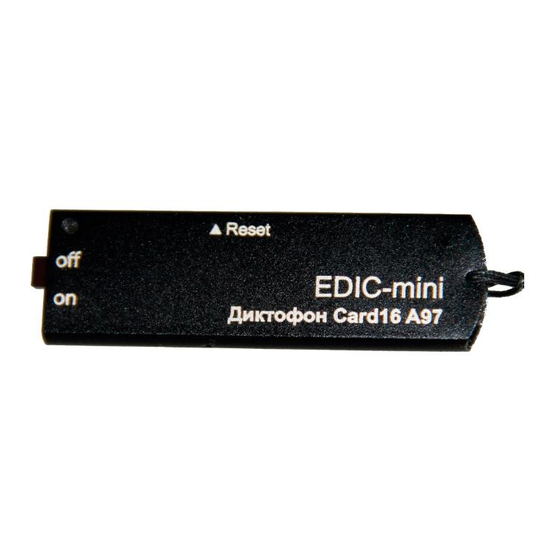
EDIC-mini CARD16 A97 Betriebsanleitung - Seite 2
Blättern Sie online oder laden Sie pdf Betriebsanleitung für Sprachaufzeichnungsgerät EDIC-mini CARD16 A97 herunter. EDIC-mini CARD16 A97 3 Seiten.

Important! Attention: even if you don't use the Recorder, the rechargeable battery must be
charged at least once a month. Otherwise the battery may malfunction, which is not covered by
the Warranty.
For voice recorders with external power source (E92 model)
Connect a DC voltage source (3.6-6V) to connectors 1 (golden wire - minus) and 2 (red wire -
plus) of the cable from the delivery set. If the voltage source is a Li-Pol battery, then by
connecting the contacts 2 and 3 (green wire) of the cable you can provide current of 100 mA (by
connecting an adapter to the voice Recorder and connecting the adapter to the computer's USB)
2. Preparing microSD Card
MicroSD card which is in the delivery set, doesn't require any preliminary preparation. It is
formatted in FAT32 and there is also a configuration file CONFIG.INI containing Recorder's
settings and EVENTS.TXT file with detailed instruction to operate the Recorder.
If you need to use a new memory card, first make sure that the file system installed on the card
is FAT32, then simply insert the new microSD into the Recorder and shift the Switch once Off-On-
Off.
When replacing the card, it is strongly recommended to format new microSD in the FAT32 file
system.
3. Recording.
To start recording, set the Switch to ON position. Red LED flashes 5 times, and the Recorder
starts recording. During recording, red LED is flashing by two series of flashes, the number of
flashes indicating:
Number of
flashes
1
2
3
4
To stop recording, shift the Switch to OFF position. Red LED flashes and recording stops.
A series of flashes when enabling recording that are different from the above mentioned state
for one of the following contingency situations: 3 flashes - battery is discharged, 10 flashes
indicate microSD failure (full, can not be read or not available).
4. Record Playback
Make sure the Switch is in "Off" position (Removing the microSD from Recorder during recording
may lead to audio file damage). By gently pressing on microSD card, remove it from the
Recorder. Insert microSD card into the supplied USB reader, then connect it to the USB port of
the PC. MicroSD card should be recognized as a separate disk with recorded WAV files of audio
recording, which can be played back by any media player.
5. Reset.
In case of a contingency situation with the Recorder, use any pointed object (toothpick etc) to
press the Reset button (the hole on the case, marked R / Res / Reset). In case the card is
installed, red LED will be on. If there is no card installed, there will be 10 flashes to indicate its
absence. For the recorders with external power source, in case of any malfunction, disconnect
and then connect power source again.
In Box:
Battery charge
level
(1st series)
70-100%
30-60%
2-30%
Free memory capacity
(2nd series)
75-100%
50-75%
25-50%
1-25%
