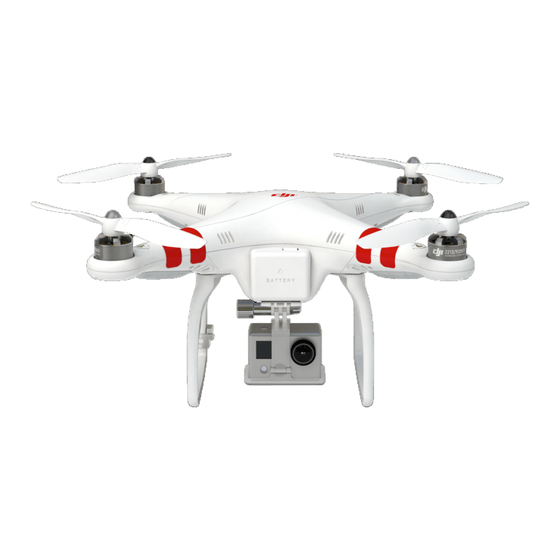
dji Phantom FC40 Handbuch "Erste Schritte
Blättern Sie online oder laden Sie pdf Handbuch "Erste Schritte für Quadcopter dji Phantom FC40 herunter. dji Phantom FC40 11 Seiten.

- 1. Basic Definitions
- 2. Assemble Quadcopter and Install Camera on FC40
- 3. Phantom Software Installation and Upgrading
- 4. USB and Battery Connection for Upgrades and Settings
- 5. Naza Asst.
- 6. One of Many Screens in the DJI NAZA Assistant Software
- 7. Calibrate the Compass
- 8. Landing
- 9. Orientation
- 10. Share this
DJI Phantom 1 & FC40 setup – Getting Started Guide
DJI Phantom 1 & FC40 setup – Getting Started Guide
Note – the following is for new users or buyers of the Phantom FC40 or Phantom 1 models.
These models can be identified by the single round LED on the quadcopter read and the
battery compartment door on the front. The FC40 includes a camera while the plain Phantom
1 comes with a GoPro holder.
Have you recently acquired a Phantom FC40 or Phantom 1? The Holiday season often ends
with the unboxing of thousands of new Quadcopters!
If so – and if you have limited experience with the DJI Phantoms and advanced Quadcopters –
please read and understand the following before taking to the air.
Before taking your Phantom outside to fly!
Read the manual at least twice. You can download the newest electronic version at:
http://www.dji.com/product/phantom-fc40/download
Basic Definitions:
NAZA – the flight controller box (F/C) inside your Phantom which contains the hardware and
software which makes your quadcopter work.
NAZA Assistant – the software, windows or mac, which allows you to upgrade, test and
change various settings on your Phantom.
Transmitter or TX – the remote control (usually a white box with two "sticks") which you use
to control your Phantom.
S1 and S2 (called X1 and X2 in the Assistant program!) – the switches on the upper right (S1)
and left (S2) of your TX. These set the "modes" which the Phantom responds to and can be
programmed in the NAZA assistant software.
Copyright - Droneflyers.com - 2016
