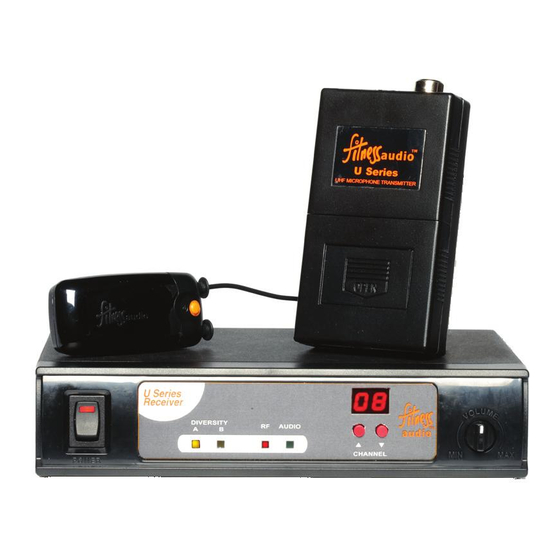
FITNESS AUDIO SM-716 Betriebshandbuch - Seite 3
Blättern Sie online oder laden Sie pdf Betriebshandbuch für Mikrofonanlage FITNESS AUDIO SM-716 herunter. FITNESS AUDIO SM-716 8 Seiten. U series; v series
Auch für FITNESS AUDIO SM-716: Betriebshandbuch (8 seiten), Betriebshandbuch (6 seiten), Betriebshandbuch (8 seiten), Betriebshandbuch (8 seiten), Betriebshandbuch (8 seiten)

Wireless Microphone System Operating Manual
3. RECEIVER INSTALLATION
Audio output connection
There are two audio output sockets on the rear panel of the receiver. A 6.35mm Jack to Jack
cable is supplied as standard and will connect into most Mic/Line Mixers including our
Fitness Audio Aeromix line as per Fig 2. When
connected with a jack to jack cable the volume
control on the front of the receiver works as a
"turn down" control should you need to adjust
the mic volume for a signal processor. The 12
o'clock position is approximately the same level
as using a balanced XLR cable.
When you connect using an XLR balanced cable
the signal level is fixed. It is the same level as
plugging a cabled microphone to the same
input and it by-passes the front panel volume
control.
Rack Mounting the Receiver
The Fitness Audio U & V Series Receivers are a 19" half-rack mount design and is supplied
with a specially designed 19" rack mount "wings" that can be bolted into equipment
cabinets.
Assemble as shown in Fig 3. We have also supplied you with a pair of antenna extension
cables so that the two antennas can be mounted into the holes on the rack ears out front in
the air and not trapped inside a steel box. Use the star washer and the nut on the inside of
the rack ears to get a firm non-slipping mount.
A double receiver rack mount kit is available as an optional extra if required (Fig 4).
Positioning the Receiver
For best operation, the receiver should be at least 1m above the ground and at least 1m
away from a wall or metal surface to minimise RF reflections.
3
