3LeggedThing PUNKS Anleitung Handbuch - Seite 4
Blättern Sie online oder laden Sie pdf Anleitung Handbuch für Kamera-Zubehör 3LeggedThing PUNKS herunter. 3LeggedThing PUNKS 9 Seiten.
Auch für 3LeggedThing PUNKS: Handbuch (9 seiten)
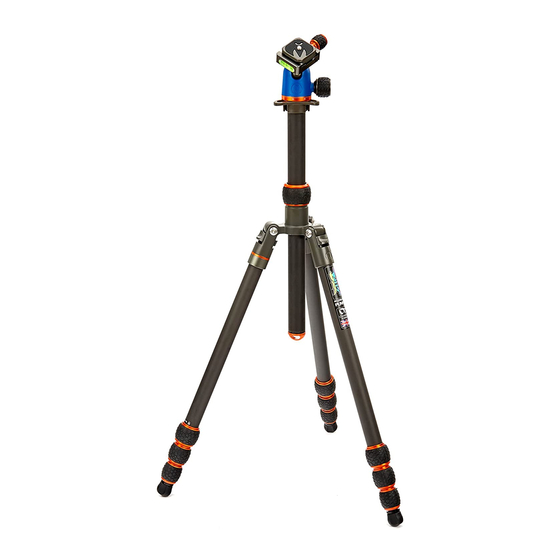
ANATOMY OF AN AIRHED
All Punks 2.0 Tripods ship with the AirHed Neo 2.0. The clamp has an orange locking knob (2) for releasing the Plate and a
black knob (6) which locks and unlocks the ball movement. The panning knob (on the rear of the head) locks and unlocks
the pan base.
Release Plate
1
Camera Screw
3
5
Pan Base
3
NEVER undo any of the knobs without holding your camera.
IMPORTANT
All 3 Legged Thing Punks 2.0 Tripod Kits include a quick release plate along with the AirHed Neo 2.0. Before using the
tripod, please check your release plate.
It is important that you tighten your release plate onto the clamp completely and check, before use. We
recommend placing the orange knob UNDER the lens, where it cannot be accidentally released.
We have engineered security cutouts into each of our AirHeds, and optional QR4 and QR7 Release
Plates with security bolts are available to purchase separately.
Plate Lock
2
Casing
4
6
Ball Control
1
4
5
2
6