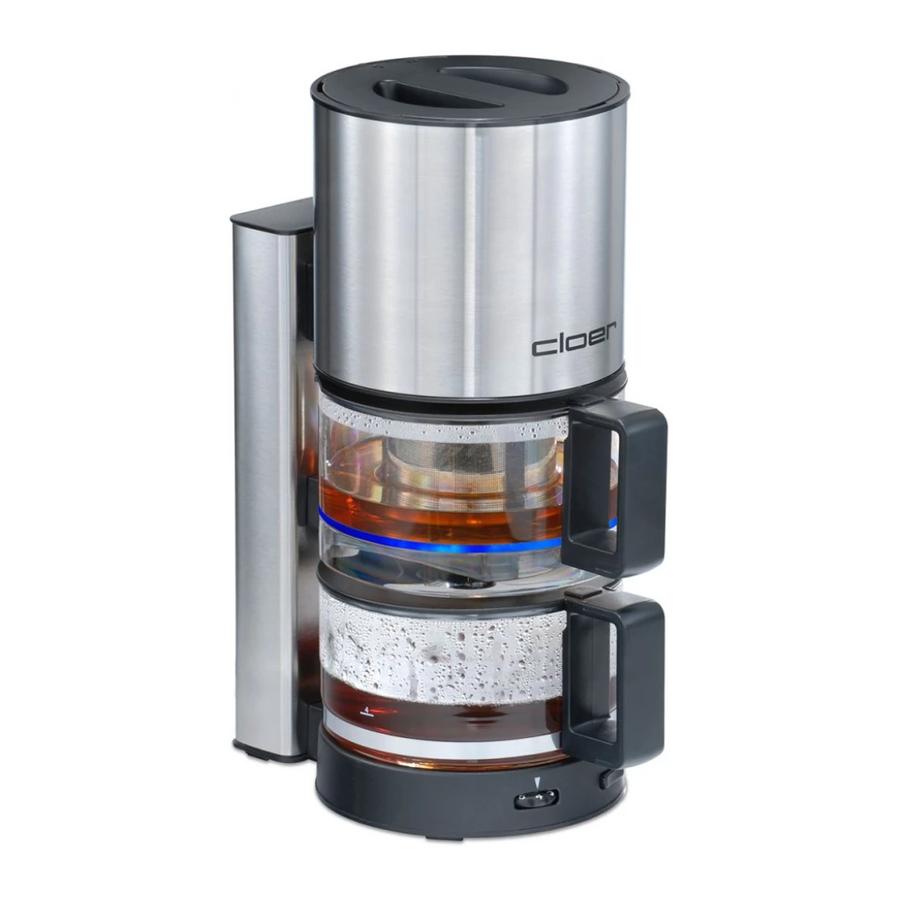
Cloer 5548 Gebrauchsanweisung - Seite 9
Blättern Sie online oder laden Sie pdf Gebrauchsanweisung für Küchengeräte Cloer 5548 herunter. Cloer 5548 12 Seiten.

Preparing for use
·
Remove all packaging elements and labels, but
not the rating plate.
·
Place the tea maker on a dry, level, non-slip
surface.
Before initial use
·
Please read these operating instructions
carefully before using the appliance for the first
time.
·
For hygienic reasons: Before using the appliance
for the first time, boil 2 pots of water.
·
Set the timer to level 2.
·
Switch off the tea maker after the water has run
through the first time.
·
Allow the appliance to cool at least 5 minutes
before allowing clear water to run through a
second time.
·
Note: In order to guarantee a high standard
of quality for your tea maker, your device was
tested during the quality control using water.
For this reason there may still be residual water
in the tank, the staining of which, due to the
water, cannot be avoided.
Safety instructions for using the
tea maker
The appliance meets the
requirements of the applicable
EC directives.
The appliance is intended for
in door use only.
·
Use the tea maker only for brewing tea. Do not
pour other liquids or foods into the tea maker.
·
Pour at least 4 cups, but no more than 8 cups of
water into the tank. Scalding may result from
water boiling over.
·
Do not immerse the tea maker in water.
ATTENTION! Always unplug
appliance when not in use and
before cleaning!
Removing and Replacing the lid
·
To remove the lid from the water tank, turn it
anti-clockwise until you see the „Lock open"
symbol in the small, round window next to the
lid handle.
·
Now the lid can be removed.
·
To seal the lid onto the water tank, the „Lock
open" symbol must be visible in the window
next to the lid handle.
·
Now place the lid onto the water tank and turn
this clockwise until the „Lock closed" symbol is
visible.
·
The lid closes the water tank tightly.
Operation
·
Plug the power plug into the wall socket.
·
Open the lid of the tea maker by turning it
counterclockwise.
·
Use the teapot to pour the desired quantity of
water into the water tank. Pour the water slowly,
making sure that all water flows into the tank.
·
Do not fill the water tank with water past the
Max marking (8 cups).
·
Close the lid.
·
Place the teapot on the warming plate.
·
Remove the filter pot.
·
Place the funnel onto the filter. This makes it
easier to add the tea.
·
Place the desired amount of tea in the filter.
·
Use the quantity recommended by the tea
manufacturer.
·
Remove the funnel.
·
Insert the filter pot.
·
Always make sure that the lids are on the pots.
·
Use the timer (1 - 9 min) to set the desired
brewing time. You can change the time while
the tea is brewing.
·
Note: Switch the requested brewingtime on full
minutes (1, 2, 3, 4 etc...). Half minutes are not
possible.
·
Now switch on the appliance.
·
The blue LED will light up.
·
The water starts to boil.
CAUTION!
The lid must always remain closed
while the water is being heated.
·
After a few minutes the water will flow into the
filter pot.
·
At the end of the brewing time the tea flows
into the teapot.
·
Wait until all of the tea is in the teapot.
·
The warming plate switches on.
·
Wait 1 - 2 minutes before serving the tea to
allow the aroma to develop.
·
Now you can enjoy your tea.
Flexible "keep warm" time
·
With your tea maker, you have the option of
changing the "keep warm" time to ½ hour, 1
hour, 1 ½ hours or 2 hours as required.
·
The tea maker is delivered with a factory setting
of ½ hour.
·
First of all, the unit must be in standby mode
("off") but connected to the mains.
·
Switch to the programming mode by pressing
the O/I button in the middle for 5 seconds.
·
The programming mode is activated when the
LED flashes for about 5 seconds consistently
fast.
·
Now press the button in this time...
- 1x for ½ hour "keep warm" time - the LED
flashes 1x slowly
- 2x for 1 hour "keep warm" time - the LED
flashes 2x slowly
- 3x for 1 ½ hours "keep warm" time - the LED
flashes 3x slowly
- 4x for 2 hours "keep warm" time - the LED
flashes 4x slowly
·
If you press 5x, the counter starts again at ½
hour.
·
After programming the LED flashes on again
fast and consistent.
EN
9
