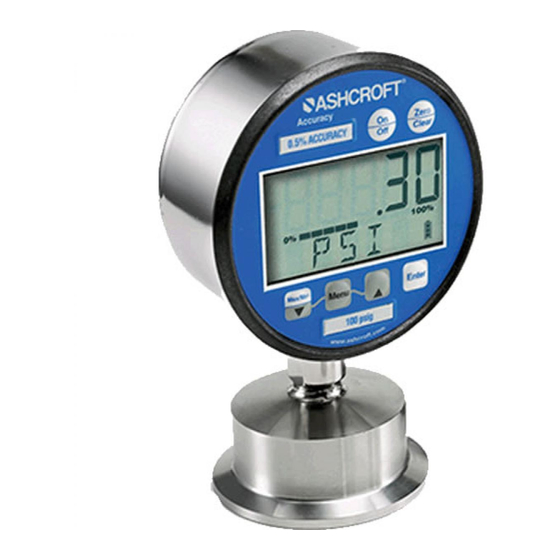
Ashcroft 2136 Betriebsanleitung - Seite 10
Blättern Sie online oder laden Sie pdf Betriebsanleitung für Messgeräte Ashcroft 2136 herunter. Ashcroft 2136 20 Seiten. Digital sanitary gauge

MENU FUNCTIONS
To use RECAL option:
Step 1: Press the Menu key on the keypad
Step 2: Press the
(up arrow key) or
(down arrow
key) on the keypad until the word CONFIG appears.
Step 3: Press Enter.
Step 4: Enter user password if it has been programmed.
Step 5: Press
(up arrow key) or
(down arrow key)
until the word RECAL appears.
Step 6: Press Enter.
Step 7: The gauge will now flash between INPUT and unit
of measure on the lower line and .00 on the top line. Apply
zero pressure to the gauge.
Step 8: Press Enter. Zero pressure is now set.
Step 9: The gauge will display full-scale pressure. Apply
full-scale pressure to the gauge.
Step 10: Press Enter. Full-scale pressure is now set.
Step 11: The gauge will now display mid-scale pressure.
Apply mid-scale pressure to the gauge.
Step 12: Press Enter. Mid-scale pressure is now set.
(Note: For compound ranges this recalibration is zero,
full-scale, mid-scale and full-vac.)
FOR FACTORY CALIBRATED SETINGS:
Step 13: To reinstate factory calibrated settings for zero,
full-scale and mid-scale press the
(down arrow key)
Menu key until the word FACT appears.
Step 14: Press Enter. Factory calibration settings are now
reinstated.
Step 15: After zero, full-scale and/or mid-scale or factory
default calibration have been set, the word SAVE appears
on the gauge display.
Step 16: Press Enter to finalize calibration.
*Indicates default.
– 10 –
