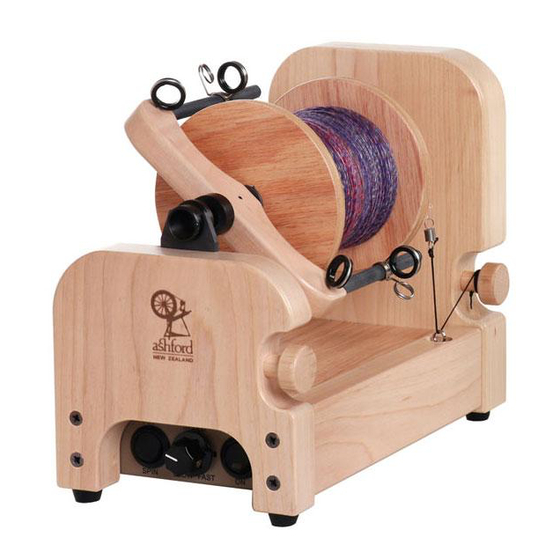
Ashford e-Spinner 3 Anleitung Handbuch - Seite 4
Blättern Sie online oder laden Sie pdf Anleitung Handbuch für Spinnende Räder Ashford e-Spinner 3 herunter. Ashford e-Spinner 3 6 Seiten.
Auch für Ashford e-Spinner 3: Montageanleitung (6 seiten)

Lazy kate
1. Tie the 65cm (25½") piece of nylon brake band to the other spring
attached to a screw eye. Thread the tail of the nylon brake band down
the inside of the spring and trim off surplus.
2. Rub candle wax onto the end of the screw eye. Thread the screw
eye with the spring and brake band attached into the pilot hole in the
lazy kate base.
3. Gently tap the 2 bobbin pins into the holes in the lazy kate base.
4. Gently squeeze the ends of the yarn guide together and push it
into the 2 holes in the lazy kate base.
5. Position the 2 bobbins onto the bobbin pins.
6. Thread the nylon brake band through the hole in the tension knob
and tie a knot.
7. Place the tension knob in the tapered hole, wrap the nylon brake
band around the 2 bobbin whorls and tighten until the spring just
starts to extend. This is the normal amount of tension required. Do
not extend the spring more than 1½ times its own length.
When plying, feed the 2 ends of your yarn through the yarn guide.
100-240V AC/DC Adapter
Control Panel
Z TWIST/S TWIST (Clockwise/Anticlockwise)
Z TWIST is for spinning, S TWIST is for
plying. Do not reverse the direction without
stopping the motor with the ON/OFF switch.
S TWIST
Z TWIST
SPEED
Start on SLOW and turn the dial
clockwise to gradually increase the
speed until the desired RPM is reached.
Foot Switch
If you would like to START
and STOP your e-Spinner 3
with the foot switch only,
insert the foot switch plug
into the FOOT SWITCH hole
in the back of the e-Spinner
3. There are two operating
modes.
Plug the 100-240V AC/DC adapter into an appropriate wall socket and
the plug into the 12V INPUT hole in the back of the e-Spinner 3.
ON/OFF
The e-Spinner 3 is fitted with a soft start which results in
the motor taking 2-3 seconds to reach the desired speed.
This prevents the yarn being jerked out of your hands
when starting. When you want to stop always switch the
e-Spinner 3 OFF rather than using the speed control. Check
the red LED light is off before you leave your e-Spinner 3.
LED Light
The Red LED light indicates the status of your e-Spinner 3.
Constant On
The e-Spinner 3 is running normally.
Flashing short on/short off
The e-Spinner 3 is on standby. The speed is set to ZERO or
the foot switch is OFF.
Flashing long on/short off
The AC/DC adapter is under load. This is OK, and you can't
harm the e-Spinner 3. However, we recommend you apply
a drop of oil to the flyer and bobbin bearings, reduce the
brake band tension and reduce speed until the flashing
stops.
Recommended Mode
Turn the ON/OFF
switch to ON.
Lightly tap the foot switch to turn the e-Spinner 3 ON and lightly tap again to
turn it OFF.
4
