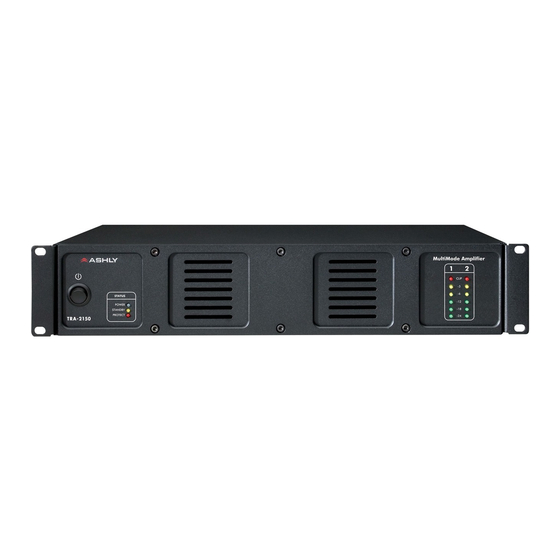
Ashly TRA-4150 Betriebshandbuch - Seite 9
Blättern Sie online oder laden Sie pdf Betriebshandbuch für Verstärken Ashly TRA-4150 herunter. Ashly TRA-4150 16 Seiten. Tra-series
Auch für Ashly TRA-4150: Technische Hinweise & Spezifikationen (2 seiten), Spezifikationen (2 seiten), Betriebshandbuch (12 seiten), Betriebshandbuch (12 seiten), Spezifikationen (2 seiten), Betriebshandbuch (13 seiten)

*
P o w e r f l e x
6250 shown -
P o w e r f l e x
4400 only has
channels 1-4
with no 70V
output.
The Powerflex 6250 is capable of three channels
of bridged output, while the Powerflex 440 is capable of
two channels of bridged output. To use bridged mode,
first press MONO from the Stereo/Mono switch on the
channel pair to be bridged. This sends the same audio
signal to both channels. Then press BRIDGE from the
Dual/Bridge switch on the channel pair to be bridged. This
inverts the phase of the input signal to the second channel.
These two channels are now operating together in Bridged
Mono mode, and the output must be taken from the two
red binding posts corresponding to the bridged channel
pair Observe polarity by noting which red binding post is
(+) and which is (-)
7.8
Speaker Outputs - Binding Posts
Dual binding posts provide connections for the
speaker outputs. In addition to using the banana-type plug,
the binding posts have a slotted entry-way for wire-crimped
spade terminals. In BRIDGE/70V mode, the channel 1, 3,
or 5 red binding post is the (+) in-phase speaker output
terminal and the channel 2, 4, or 6 red binding post be-
comes the (-) out-of-phase speaker terminal.
CAUTION! NEVER CONNECT THE TWO RED
BINDING POSTS TOGETHER OR CONNECT EITHER
RED BINDING POST TO A BLACK BINDING POST!
7.9
AC Inlet
Powerflex amplifiers can be configured by the cus-
tomer for operation at either 115VAC or 230VAC mains.
Switching from one to the other simply requires the fol-
lowing steps:
Operating Manual - Powerflex Multi-Channel Power Amplifier
move the power cord from the rear of the amplifier.
the fuse holder in the AC inlet and remove it.
tate until the new nominal mains voltage level indication
(115 or 230) is on top and properly oriented for reading.
inlet, making sure that it is plugged in all the way.
#6 below), and press the fuseholder back into the AC inlet
until it latches.
and with the appropriate terminations, plug the cord into
the rear of the amplifier and then into the wall. The
Powerflex amplifier is now ready for use at the new mains
voltage.
fuse is MDA 12, 250V, and the required power cord is 3-
wire grounded, 13 Amp (16AWG) minimum.
fuse is MDA 10, 250V, and the required power cord is 3-
wire grounded, 10 Amp (18AWG) minimum.
1.) Unplug the amplifier from the wall and re-
2.) Using a small screwdriver as a lever, unlatch
3.) Remove the voltage selection insert and ro-
4.) Replace the voltage selection insert in the AC
5.) Replace the fuse with the appropriate size (see
6.) Using a power cord of the appropriate size
If the mains voltage is 110-125VAC, the required
If the mains voltage is 220-250VAC, the required
9
