Ashly ne4400 Betriebshandbuch - Seite 5
Blättern Sie online oder laden Sie pdf Betriebshandbuch für Computer Hardware Ashly ne4400 herunter. Ashly ne4400 20 Seiten. Network enabled dsp processor
Auch für Ashly ne4400: Betriebshandbuch (20 seiten), Spezifikationen (3 seiten), Handbuch (20 seiten)

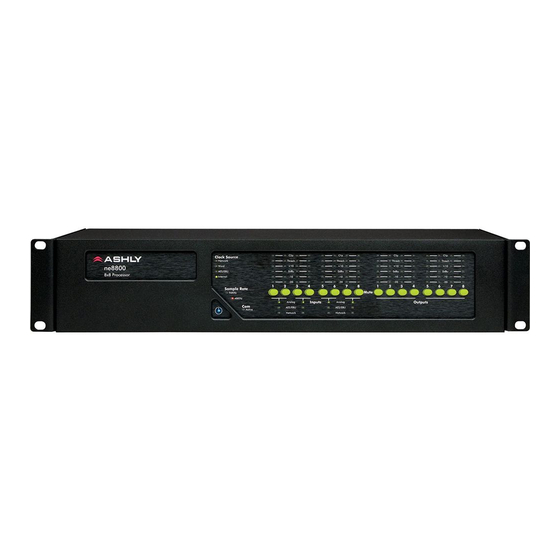
Operating Manual - ne8800, ne4800, ne4400 DSP Processor
4. AC POWER AND MECHANICAL REQUIREMENTS
The AC mains requirement for the NE Processor is 90VAC to 240VAC, 50-60Hz, 70W maximum, and requires a properly
grounded AC connection. The unit mounts to a standard 19 inch equipment rack. A cooling fan draws air in from the right side
and blows air out the left side when viewed from the front .
5. GETTING STARTED
Load the software
Ashly Protea NE software is included on a CD with each unit . Check the Ashly web site at www .ashly .com to verify
that you are installing the latest software release . Autorun will launch the application<ProteaSystemSoftwareNE> to install the
Protea software. A note about firewalls: When running Protea NE software on a PC for the first time, Windows will prompt the
user to allow the software through any active firewalls. Allow this. Once the software is properly installed, Windows must be
configured to permanently allow a firewall exemption for Protea NE software.
Connect to Ethernet
The Ethernet control connection is made using an RJ-45 terminated eight conductor cable connected directly to a computer
or indirectly over a standard 10/100M Ethernet network . Maximum cable distance for Ethernet is 100 meters from the nearest
hub or switch for copper twisted pair CAT5 cable . For more detailed information about the proper implementation of an ethernet
network, review one of the many comprehensive Ethernet networking guides available on the internet .
Identify the processor in software
Once the software is loaded to the computer and an Ethernet connection has been made to the NE processor, all Ashly NE
products installed on that network will be automatically detected and shown in the active device listing on the left side of the
Protea software startup canvas . In addition to detecting which models are currently online, any factory installed options (mic
preamps, AES3, CobraNet) are auto-detected and the software control surface for the new NE product automatically displays
available controls for the options present . Note: In the event of multiple processors of the same model on the network, the user
can find a single physical unit by right clicking over the unit's name in the drop down menu or picture on the canvas, and then
click <Identify>, which will flash the Com LED on that unit's face panel for two seconds.
The software scans for active NE devices on power-up, but the user can manually scan at any time as well with <Scan For
Devices> at the bottom of the network NE device listing . NE devices continuously broadcast their availability to the software .
All currently connected and active NE devices are highlighted in green, while NE products which may be or have been formerly
installed but are currently off-line or unavailable show up in red . Individual NE products can be dragged onto the project canvas
to simulate physical rack installation groups, but editing each product can be done from either the product list or the canvas .
The NE system project canvas
The project canvas is used to visually represent and control a fixed physical sound system installation, and can display any
of the Ashly NE processors, amplifiers, and remotes used in that system. The user can also place individual control objects such
as level faders, single LEDs, meter bars, etc, and assign them to specific product functions within that project. Once a control
object is placed, right click on it to bring up its properties. Lines, rectangles, text, even image files can be added to create a
custom virtual control screen along with the NE products and individual control objects . To see all available canvas tools, right
click anywhere over open canvas . Checking <Design Mode> allows placed objects to be moved around, while unchecking
<Design Mode> locks objects in place .
5
