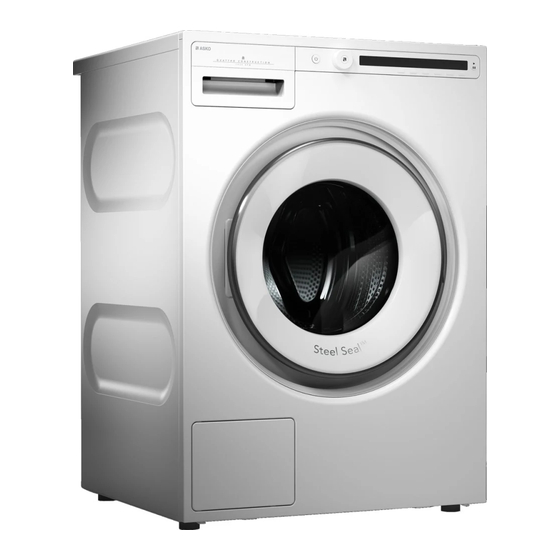
Asko ASWADREW2085 Installationsanleitung Handbuch - Seite 3
Blättern Sie online oder laden Sie pdf Installationsanleitung Handbuch für Waschmaschine Asko ASWADREW2085 herunter. Asko ASWADREW2085 8 Seiten.

INSTALLATION
Read these instructions carefully and completely
before you install the machine. The installation
should be carried out by a qualifi ed person who
is familiar with all local codes and ordinances for
electrical and plumbing connections.
Cosmetic damage must be reported to your dealer
within fi ve days from the date of purchase. After
unpacking the washer, thoroughly check the unit for
cosmetic damage.
ADJUSTING THE FEET
Place the washing machine so that it is stable.
It is important that the machine is level to prevent
excessive vibrations during spin cycles. Each foot
of the washer is adjustable, so you can level the
washer on any surface. Once it is level, securely
tighten the lock nuts on the feet to prevent excessive
vibration during spin cycles.
1. Level the washing machine horizontally and
vertically by rotating the adjustable feet (using a
No. 32 (1.26") spanner).
The feet allow levelling by +/- 1 (0.39") cm.
2. When the appropriate height of feet is set, use the
wrench No. 17 (0.67") to fi rmly fasten the counter-
nuts towards the bottom of the appliance
3. Tighten the jam nuts (counter nuts) to the end
position.
This will reduce washing machine noise to
minimum.
.
1
2
3
Customer Care Center, 1-800-898-1879, www.askona.com
CONNECTING TO WATER SUPPLY
The machine has to be connected to water
supply by an adequately trained person.
Since ASKO washers have a built-in heating
element, you only need a cold water inlet. The
connection should be made by someone who is
sufficiently skilled. Use the hose supplied with
the washer. (The inlet hose is marked for correct
connection.) The water pressure must be in the
range 15–146 PSI. A valve should be fitted on
the water supply pipe. If a new supply pipe has
been installed for the washer, it should be flushed
thoroughly to remove any foreign particles that might
clog the filter in the fill valve.
The water intake hose has to be fastened fi rmly
enough for the hose to have a good seal.
After connecting the hose, the seal must be checked
for any leaks.
Only use the water supply hose supplied with the
appliance. Do not use any used or other hoses.
If the unit is installed on a second story, follow
local building codes. We recommend installing a
drip pan.
Hot water connection
(depending on model)
A few seconds after you start a program, the
washing machine will begin to fi ll with water from
the hot and cold supplies. If for some reason no hot
water is available, the machine waits for one minute
and then fi lls with cold water only. The wash drum
does not start to rotate until it begins to fi ll with water.
However, if you choose to connect your ECO-
machine to cold water only, it is important that you
shut off the hot water connection.
3
