AMCOL 6000E Manual del usuario - Página 4
Navegue en línea o descargue pdf Manual del usuario para Controlador AMCOL 6000E. AMCOL 6000E 6 páginas. Electronic timing controller for forming and fabricating
También para AMCOL 6000E: Manual del usuario (19 páginas)

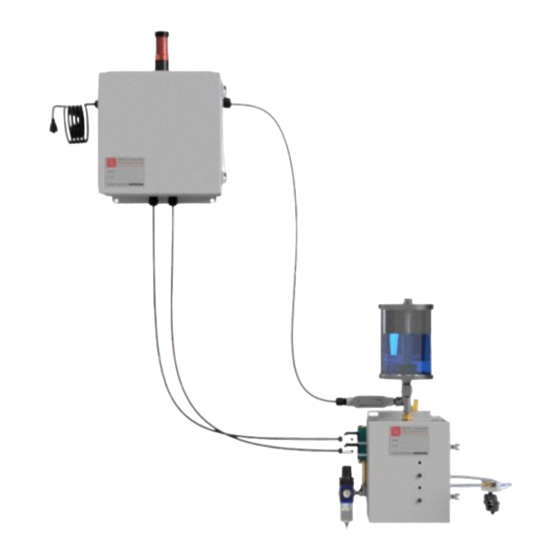
Connecting the 6000-ETC-FF to Your Machine
Integrating the 6000-ETC Controller is simple and easy to do by following these simple
instructions:
Figure 4
3. Connect the prewired solenoid caps with lights to the solenoid valves. The leftmost
cable should connect to the Dispersing Air Solenoid Valve (SV1), and the rightmost
cable should connect to the Injection Pulse Rate Solenoid Valve (SV2).
4. Plug in power cord.
You are now ready to operate.
Operating the 6000-ETC-FF
The 6000-ETC-FF has two operating modes:
Figure 5
Settings can be modified by pressing the right
arrow (>) to move to the desired screen. The
individual setting can be increased using the
up arrow (∧) or decreased using the down
arrow (∨) (see Figure 6). Input and output
settings are increased and decreased by 1,
and timing settings are increased or
decreased by 100ms per press.
ELECTRONIC TIMING CONTROLLER FOR FORMING AND FABRICATING 6000E SYSTEMS TD-OM
1. Mount the control box in a position where it is easy to access,
protected from damage, and a short distance from your AMCOL
6000 Series Precision Applicator. Output wires from this controller to
the spray system are standard at two feet. To extend these wires,
they should be properly connected to a junction box and extended
using conduit.
2. Insert your machine input through the available cable gland and
connect to the controller as shown in Figure 4.
1. Automatic – This will operate only when your machine output power
is on. It is designed to automatically turn on per the settings and begin
the spray cycle when your machine output is energized. Automatic
mode is the standard of operation for 6000-ETCs.
2. Manual – This will turn the spray system on for one full cycle and will
only operate when the left arrow (<) is pressed (see Figure 5). Manual
mode should be used for setup, testing, and troubleshooting.
Figure 6
P A G E | 4
