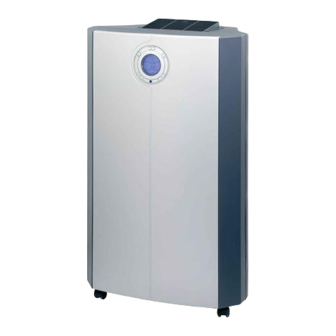
Amcor PLM14000EH Manual del usuario - Página 7
Navegue en línea o descargue pdf Manual del usuario para Aire acondicionado Amcor PLM14000EH. Amcor PLM14000EH 8 páginas. Amcor inc. owner's manual portable air conditioner

Operation
Timer
The TIMER function allows you to program the time the unit turns on and turns off.
TO SET THE TIMER:
• Press the TIME button briefly, the 2 hour digits will flash.
• Press the UP or DOWN button to adjust the hour.
• Press the TIME button again. The 2 minute digits will flash.
• Press the UP or DOWN button briefly to adjust the minutes.
• The TIMER is set. After 10 seconds the time display returns.
Programming the Timer for ON:
• Perform the standard steps as described above.
The circular time scale will be on between the
ON programmed times until 24:00.
The flashing bar on the time scale indicates the
real time and moves a segment ahead every
30 minutes until it reaches the ON timer
time, then the black segments in the circular time
scale will disappear.
Programming the Timer for OFF:
• Perform the standard steps as described above. The circular
time scale will be on between the present time to the OFF
programmed time. The flashing bar on the time scale indicates
the real time and moves a segment ahead every 30 minutes until
it reaches the OFF timer time, then the black segments in the
circular time scale will disappear.
8
24:00
00:00
18:00
06:00
OFF
ON
Timer Example
Installation of the Window Kit
In order for this unit to function properly, it must be vented to the outside.
Fitting the Exhaust Hose through a window is easy. Please see below.
Window Kit Installation:
1. Extend Exhaust Hose at least 6" and insert it into back of the unit, tightening
into place by turning it clockwise.
2. Attach Slide Bar Connector to the other end of the Hose by extending hose at
least 6". Then tighten Hose by turning the Slide Bar Connector clockwise.
3. Place Adjustable Slide Bar in the window and expand so it fits tightly.
4. Mark Slide Bar to record width of the window.
5. Apply Insulation Strips on top and bottom of Slide Bar.
6. Reposition Slide Bar Connector in the window. Expand the Slide Bar to fit tight.
Tighten the screws.
7. Lower the window.
8. Make sure Hose has no kinks.
Slide Bar has 3 sections which allows installation in windows up to 48" in width.
5
Adjustable
Slide Bar
Slide Bar
Connector
Exhaust
Hose
