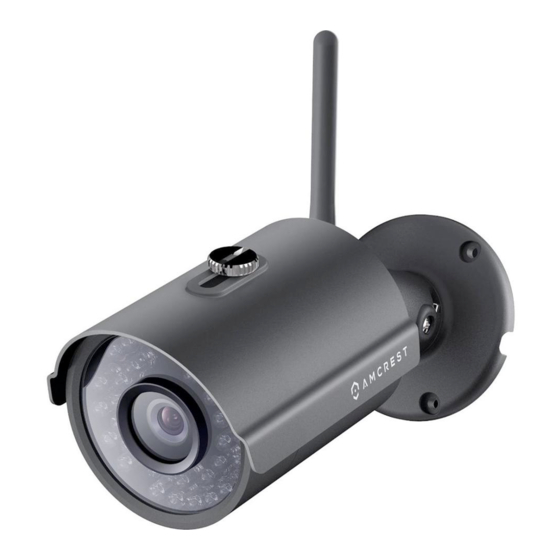
Amcrest IPM-743ES Manual de inicio rápido - Página 4
Navegue en línea o descargue pdf Manual de inicio rápido para Cámara de seguridad Amcrest IPM-743ES. Amcrest IPM-743ES 7 páginas.

If this is your first time logging into the camera,
you will be prompted to change your password.
Please select a password that is at least 8
characters long, and one that uses a combination
of uppercase letters, lowercase letters, and
numbers.
Step 5
Download and install the Amcrest browser
plugin to enable live viewing. In case you ever
forget your password, you can hard reset your
camera by touching the leads of the green and
white reset wires together for 30 seconds.
Step 6
The camera is now successfully set up for live
viewing and playback! For quick and easy
remote access on your PC or Mac, please see
page 6 or page 8. To setup advanced remote
access via UPnP/DDNS or Port Forwarding,
please refer to the user manual which can be
accessed at amcrest.com/poecameramanual
Step 7
To set up the camera's desktop interface for
remote access, please refer to the user manual
which can be accessed at
amcrest.com/poecameramanual
QUICK START GUIDE
Step 1
Connect the camera to a Power Over Ethernet
(POE) jack on your router or switch using an
ethernet cable (1 cable included in the box).
Wait 30 seconds for the camera to start-up and
initialize.
Step 2
Using a web browser on your PC or Mac, visit
www.amcrest.com/cloud and register for a
free account. Once registered, click the "Add
Camera" button. Select "Amcrest", give the
camera a name, and enter the camera's S/N
(located on the side of the camera). Click "Next".
Step 3
On the settings page, you can adjust optional
preferences for your camera. Once settings
have been adjusted, click "Finish." Your camera
is now successfully set up for cloud access and
storage!
5
Cloud
Access
6
