aero-naut Clipper Instrucciones de construcción - Página 3
Navegue en línea o descargue pdf Instrucciones de construcción para Juguete aero-naut Clipper. aero-naut Clipper 4 páginas.

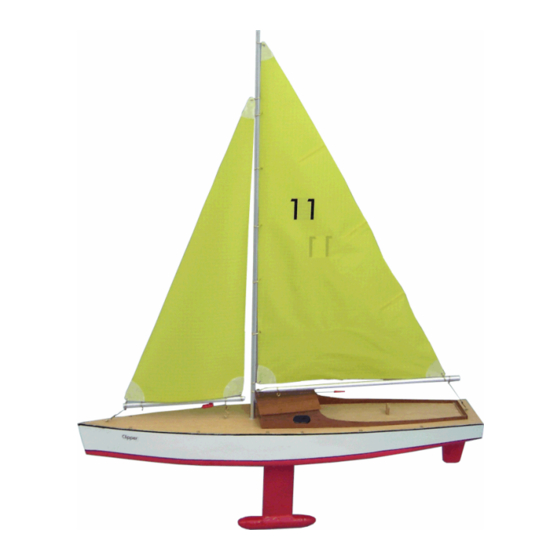
Clipper
26) The ends of the superstructure side panels 36 are not yet fixed; bend them as shown, pin them in
this position and glue them to the deck 1.
The completed hull can now be given several coats of sanding sealer (primer) to render it completely
waterproof. Push a piece of paper towel into the mast socket 14 to prevent sealer running into it. When
the sealer is completely dry, place the hull in the water, and check that it floats level and does not leak.
27) The tablings (corner reinforcements) 41 to 47 can now be glued to the sails: peel off the backing
film from the double-sided tape, and press them onto the sails in the exact positions shown.
28) Attach the stainless steel rings 48 and oval rings 49 to the sails.
29) Slide the three spring-rings 51 onto the mast 50. This is done by squeezing the loop and the other
end together, and pushing it onto the mast.
30) Slide the rings 48 down the mast to attach the mainsail 40 to it, and connect the oval ring 49 to the
spring-ring 51.
31) Connect the jib 39 to the spring-ring 51 using the oval ring 49.
Slip the boom 53 through the rings 48 attached to the bottom of the jib 39. The left and right rings must
be positioned between the loop and the end of the spring, so that the sail cannot move out of position.
32) Slide two spring-rings 51 onto the boom 52; note that the hole for the screw 54 must be on the left-
hand side. Slide the boom 52 through the lower rings 48 in the mainsail 40.
33) Fit the boom 52 over the lower spring-ring 51 attached to the mast 50. Fit the screw 54 through the
boom 52 and the spring-ring 51, and secure it with the nut 55.
34) Draw the cord 57 through the left-hand hole in the sliding clamp 56 and tie it securely. Now run the
cord through the left-hand spring-ring 51, through the middle and right-hand holes in the sliding clamp
56, and through the right-hand spring-ring.
35) Screw the three ring-screws 58 in place as shown.
Connect the left-hand spring-ring 51 on the boom 53 to the ring-screw 58 with the oval ring 49.
Tension the jib 39 to the top of the mast 50 using the spring-ring 51. Tie the cord 57 to the ring-screw
58 in front of the mast 50.
36) Tie the cord 57 to the rear ring-screw 58.
37) Adjust the position of the two sliding clamps so that both booms 52 + 53 are able to swing out as
far as the hull sides 16.
38) Glue the servo plate 59 in the hull.
39) Connect the (medium-sized) servo to the steering arm 28 using the pushrod 60. Fix the servo to
the servo plate 59 using Velcro (hook-and-loop) tape. Fit the receiver and receiver battery in the
forward area of the hull on either side of the keel 2.
40) The boat is intended for light to medium-strength winds only.
If the boat heels (leans over) too far, give the sails a little more freedom to swing out. This is
accomplished by adjusting the position of the sliding clamp 56.
3
Clipper building instructions
