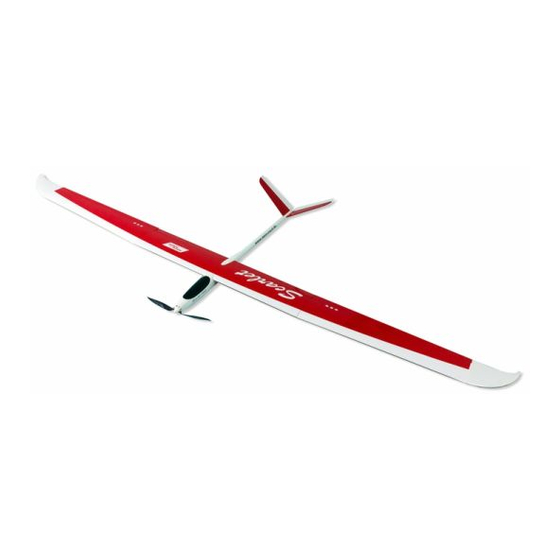
aero-naut Scarlet Instrucciones de construcción - Página 3
Navegue en línea o descargue pdf Instrucciones de construcción para Juguete aero-naut Scarlet. aero-naut Scarlet 7 páginas.

Wing
The wing (this and the following pictures show the "Noemi"; the "Scarlet" wings are similar) con-
sists of three panels: the centre section, which is attached to the fuselage by a single screw, and
two outboard panels, which are plugged into the centre section.
"Scarlet" is a high-performance electric-powered model glider. The wing consists of balsa-sheeted
Styrofoam panels with a CFRP spar, while the winglets are moulded in white GRP. The four-flap
wing provides effective aerodynamic support for various phases of flight.
Glue the GRP winglets to the tips of the outboard panels using a simple butt joint. Check that
these parts are positioned correctly, and wipe off excess glue where it is squeezed out of the joint.
The wing centre section is fixed to the fuselage by means of a single central screw. Use the tip of
a hot soldering iron to remove the film over the central hole; the tip of the iron will stick the film
down again. The beech locating dowel should now be glued in the centre of the leading edge:
place the wing on the fuselage, check that it is positioned correctly and at right-angles to the fuse-
lage centreline, then mark the position of the pre-cut hole on the leading edge.
Remove the film over the servo wells on the underside of the wing, using the soldering iron again.
The aileron and flap servos are installed using the ply-
wood mounts supplied. To establish the correct position,
fit the mounts on the servo and place this assembly in the
recess "dry" (without glue). You can now mark exactly
where the servo mounts are to be glued.
Glue the servo mounts in the wing using thick cyano or
epoxy. Allow the glue to cure completely before installing
the servos permanently.
Check that the output arms are exactly at right-angles to
the control surface hinge line, then fix the servos in the
mounts using hot-melt adhesive. Check from the transmit-
ter that the servos are exactly at neutral (centre). Set the
correct direction of rotation at the same time.
Cut off the servo leads. Draw a twisted servo extension lead (not included in the kit) through each
wing panel. You will need to fit a three-pin plug and socket at the joint between the centre section
and the outboard wing panels.
Solder the twisted extension leads to the aileron servos, and fit a separate heat-shrink sleeve over
each soldered joint. Alternatively - if you do not wish to cut the servo leads - you can use standard
commercial extension leads and connect the servo plugs to the sockets. In this case you should
wrap tape round the connectors to ensure that they cannot work loose over time.
A six-pin plug and socket have to be installed at the point where the wing centre section meets the
fuselage. All the positive servo wires can be soldered to one pin, and all the negative wires to an-
other pin, leaving four spare pins for the signal wires.
The horns should be glued in the flaps and ailerons exactly in line with the servo output arms.
The short horns are used for the ailerons; note that the linkage hole should coincide exactly with
the hinge pivot axis, and the horn should be exactly in line with the servo output arm. Glue the
longer horns in the flaps, exactly as described for the ailerons.
Scarlet building instructions
Scarlet
3
