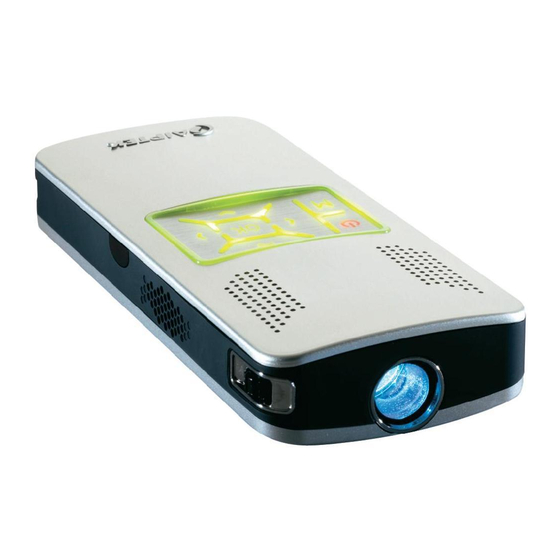
AIPTEK PocketCinema V10 Manual práctico
Navegue en línea o descargue pdf Manual práctico para Proyector AIPTEK PocketCinema V10. AIPTEK PocketCinema V10 2 páginas. Lcos projector
También para AIPTEK PocketCinema V10: Manual de conexión (2 páginas), Manual del usuario (17 páginas)

How to connect to a Laptop
OPTION A - allows plug and play
3.1 Male RCA
connector
AV IN
2. Pocket
projector AV
in Cable
1. AV port
(included)
Instructions:
1.
Begin with the pocket projector switched off. On the 3. VGA to
RCA converter, move the switch on the back of the device to
"SIZE" (right hand side).
2.
Then, connect 3.2 USB power connector to 4. laptop USB port
3.
Connect 3.3 male VGA connector to laptop 5. VGA port
4.
Connect 3.1 male RCA connector to yellow connector of 2.
Pocket projector AV in cable
5.
Now, connect opposite end (black connector) of 2. Pocket
Projector AV in cable to 1. Pocket Projector AV port
Then
6.
Turn on your Pocket Projector by holding down the red
power button. Once the Pocket Projector boots up the welcome
screen is displayed. Press the "Down Arrow" button (below the
"OK" button) once to select "AV in" then press the "OK" button
7.
Once your Pocket Projector is set up, on your laptop, press the
purple button on 3. VGA to RCA converter to fine tune the
picture.
8.
To switch the display between your laptop screen, the Pocket
Projector and simultaneous display on both devices, select the
keys to switch laptop screen to external monitor (consult your
laptop manual if unsure).
These instructions work with the Pico VGA to RCA converter, however
you can use a similar converter cable in the same way.
Note: DO NOT press any other keys on the Pocket Projector as it may confuse set up. If you do press another key, turn the Pocket
Projector off then complete Option A - Step 6 / Option B - Step 5.
How to connect to media players
1. AV port
2. Pocket projector AV
in Cable (included)
AV IN
Instructions:
1.
Ensure that your media player supports TV out
2.
Connect 3. media player-dedicated TV out cable to 4. media player TV out port
3.
Connect male RCA connectors of 3. media player-dedicated TV out cable to the female RCA connectors of 2. Pocket
Projector AV in cable (yellow to yellow, white to white, red to red)
4.
Connect opposite end of 2. Pocket Projector AV in cable to the 1. Pocket Projector AV port
Then
5.
Turn on your Pocket Projector by holding down the red power button. Once the Pocket Projector boots up the
welcome screen is displayed. Press the "Down Arrow" below the "OK" button once to select "AV in" then press "OK"
6.
On your media player, follow any prompts to allow the Pocket Projector to display
How To Guide
3. Pico VGA to RCA
converter
3.2 USB power
connector
3.3 Male
VGA connector
4. USB port
3. Media-player-dedicated
TV out cable
OPTION B - change to laptop settings required
2. Pocket
projector AV
in Cable
(included)
AV IN
1. AV port
5. VGA port
Instructions:
1.
Connect 4. S-video cable to 5. laptop
S-video port
2.
Connect 4. S-video cable to 3. RCA male
to male connector
3.
Connect 3. RCA male to male connector
to 2. yellow Pocket Projector AV in cable
4.
Connect 2. Pocket Projector AV in cable
to 1. Pocket Projector AV port
Then
5.
Turn on your Pocket Projector by holding
down the red power button. Once the Pocket
Projector boots up the welcome screen is
displayed. Press the "Down Arrow" below the
"OK" button once to select "AV in" then press
"OK"
6.
Open up your graphic card's control centre:
Windows Vista – right click on your
desktop and select the graphic card control
centre
Windows XP – go to "Control Panel",
"Display", "Settings" tab, "Advanced" button,
then select the graphic card control centre
tab
Mac OS – go to Mac Help and search for
"Displayport"
7.
In the display settings, extend your desktop
to the pocket projector as your 2nd monitor
8.
Set the screen resolution for the pocket
projector to 640x480
9.
If your computer can't detect the Pocket
Projector, enable forced TV functions
(mobile phones, video/music players, digital camcorders/cameras & portable media players)
4. Media player
TV out port
5.
S-video
port
3. RCA male
4. S-video cable
to male
adapter
