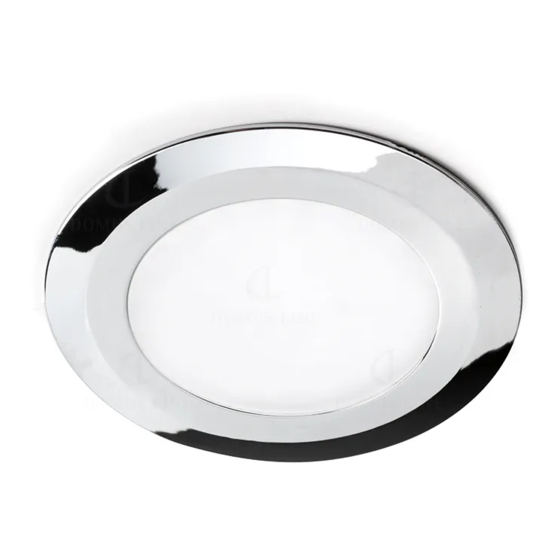
DOMUS LINE CUBIT PLUS D-MOTION Manual de instalación - Página 6
Navegue en línea o descargue pdf Manual de instalación para Luminaria DOMUS LINE CUBIT PLUS D-MOTION. DOMUS LINE CUBIT PLUS D-MOTION 20 páginas.

INSTALLATION MANUAL
FLUSH INSTALLATION ON METAL SURFACES
The SMALLY ML D-MOTION devices can be flush mounted on 0.7
mm thick (min.) metal surfaces and on a ø 57 mm hole as illustrated
in figure 3.
- The light must be anchored to the metallic bracket by inserting first
one spring and then the other, applying slight pressure until
completely fitted as illustrated in figure 4.
CONNECTION OF THE SMALLY-CUBIT-QUADRUM Plus D-MOTION
(Plug & Play) POWER CABLE
The SMALLY Plus, SMALLY XS Plus, CUBIT Plus, QUADRUM Plus
D-MOTION (Plug & Play) models refer to the configurations of the
devices that have a built-in disconnectable power cable. The
SMALLY Plus, SMALLY XS Plus, CUBIT Plus D-MOTION and
QUADRUM Plus D-MOTION power lead can be disconnected and
allows the device to be easily disconnected and removed if
necessary. Follow the installation instructions for connection of the
cable to the device.
- For connection of the power cable to the device, insert the cable
connector (B) into the slot (C) on the device, until the safety hook
(D) is press-fitted into place as illustrated in figure 5.
- To remove the device power cable, press the safety release (D)
slightly with your finger and extract the connector (B) from the
slot (C) on the device as illustrated in figure 5.
EN
SURFACE INSTALLATION
All of the SMALLY D-MOTION models can be surface mounted with
the aid of specific supports. The installation can be carried out with
the light power supply cable in both an axial or radial position with
respect to the installation surface. In the event of a specific
requirement a power wire exit hole can nevertheless be drilled in
other positions as long as it does not compromise the integrity of
the wire and/or the connector installed on it.
- Secure the plastic bracket (E) to the installation surface with the
included screws (F); insert the light (G) into the plastic support,
applying light pressure until it is completely fitted as illustrated in
figure 6.
- If necessary, bore a ø ≥ 8mm exit hole for the power supply cable
as illustrated in figure 7.
CONNECTING THE DEVICE TO THE POWER SUPPLY _ Tunable
White dynamic light configuration D-MOTION
- Connect the SMALLY-CUBIT-QUADRUM D-MOTION power supply
cable to one of the light colour dynamic adjustment systems
D-MOTION sold separately and with power at least 10% greater
than the total load. For the total load calculation check plate data
printed on the product label.
- For installation and operation of the light colour dynamic
adjustment system see the specific item's manual.
