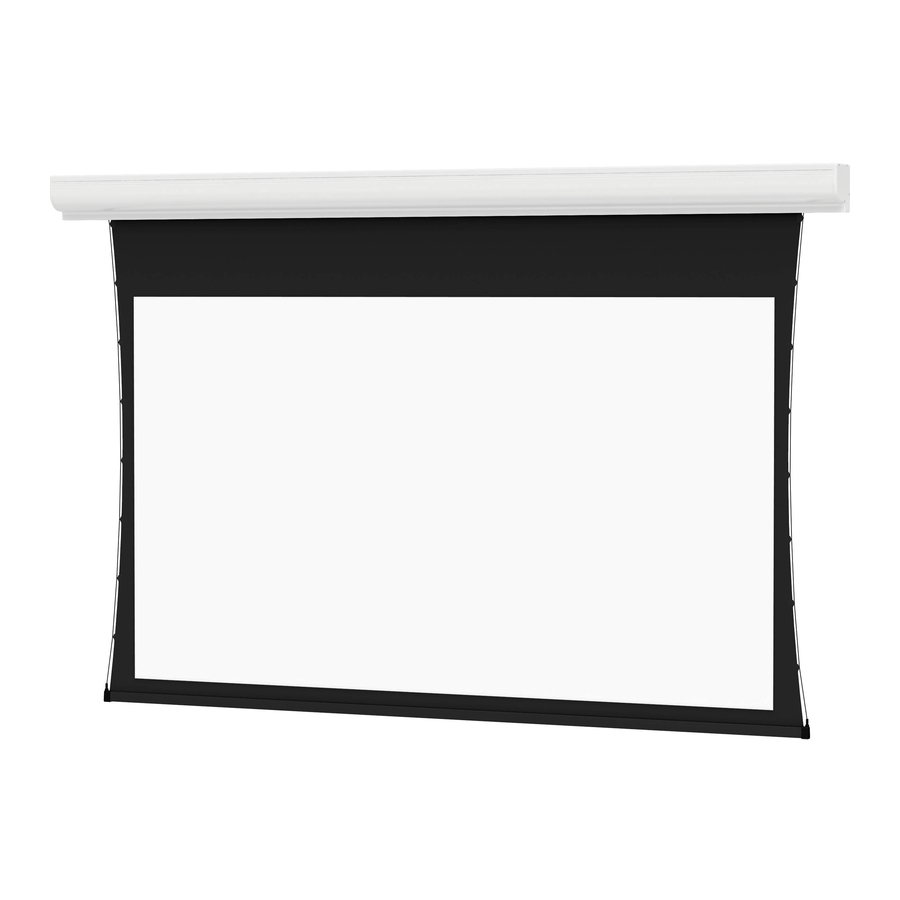
Da-Lite TENSIONED CONTOUR ELECTROL Libro de instrucciones - Página 2
Navegue en línea o descargue pdf Libro de instrucciones para Accesorios para proyectores Da-Lite TENSIONED CONTOUR ELECTROL. Da-Lite TENSIONED CONTOUR ELECTROL 13 páginas. Installer friendly features
También para Da-Lite TENSIONED CONTOUR ELECTROL: Libro de instrucciones (13 páginas), Libro de instrucciones (9 páginas), Manual del instalador (2 páginas), Manual de instrucciones (9 páginas)

Disclaimer
Milestone and its affiliated corporations and subsidiaries (collectively "Milestone"), intend to make this manual accurate and complete.
However, Milestone makes no claim that the information contained herein covers all details, conditions or variations, nor does it provide
for every possible contingency in connection with the installation or use of this subject to change without notice or obligation of any
kind. Milestone makes no representation of warranty, expressed or implied, regarding the information contained herein. Milestone
assumes no responsibility for accuracy, completeness or sufficiency of the information contained in this document.
Da-Lite® is a registered trademark of Milestone AV Technologies. All rights reserved.
Important Safety Instructions
When using your video equipment, basic safety precautions
should always be followed, including the following:
1.
Read and understand all instructions before using.
2. Maximum surrounding air temperature 122°F (50°C).
3. Main disconnect must be incorporated in the fixed wiring in
accordance with the wiring rules.
4. Rated for indoor use only.
5. Use copper rated conductors rated 167°F (75°C) or higher.
6. If the supply cord is damaged, it must be replaced by the
manufacturer, its service agent or similarly qualified persons
in order to avoid hazard.
7.
Supplied drive is only intended for use in Da-Lite screen
models Advantage, Contour, and Cosmopolitan.
8. Position the cord so that it will not be tripped over, pulled, or
contact hot surfaces.
9. If an extension cord is necessary, a cord with a current rating
at least equal to that of the appliance should be used. Cords
rated for less amperage than the appliance may overheat.
Pre-Installation
1. Carefully unpack screen and remove outer wrapping
from case.
2. Set aside the Installation Kit. Items inside will be used during
installation.
2
Original Instructions
10. To reduce the risk of electric shock, do not disassemble this
appliance. Contact an authorized service dealer when repair
work is required. Incorrect reassembly can cause electric
shock when the appliance is used subsequently.
11. The use of an accessory attachment not recommended by
the manufacturer may cause a risk of fire, electric shock, or
injury to persons.
12. Failure to provide adequate structural strength for this
component can result in serious personal injury or damage
to equipment! It is the installer's responsibility to make sure
the structure to which this component is attached can
support the weight of all equipment. Reinforce the structure
as required before installing the component.
13. Use this projection screen only for its intended use as
described in these instructions. Do not use attachments not
recommended by the manufacturer.
Tools Required for Installation
Save These Instructions
1/8" Hex Key
#2 Phillips Screwdriver
(included)
