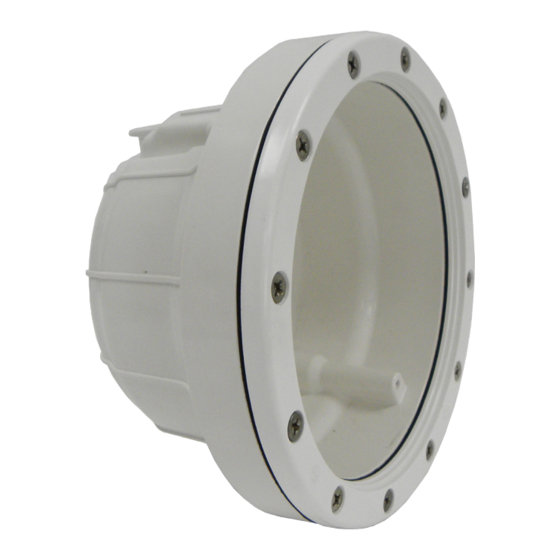
Astralpool LumiPlus 59815 Manual de instalación y mantenimiento - Página 2
Navegue en línea o descargue pdf Manual de instalación y mantenimiento para Equipos de iluminación Astralpool LumiPlus 59815. Astralpool LumiPlus 59815 16 páginas. Design niche

ENGLISH
IMPORTANT: The instruction manual you are holding includes essential information on the safety measures to be
implemented for installation and start-up. Therefore, the installer as well as the user must read the instructions before
beginning installation and start-up.
Keep this manual for future reference.
To achieve optimum performance of the LumiPlus Design niche, follow the instructions provided below:
1. VERIFY THE CONTENTS OF THE PACKING:
The following accessories are included inside the box:
Code 59813
• Niche
• Adaptor
• Bag of screws
• Bag of parts
• Assembly manual
2. GENERAL CHARACTERISTICS:
This product has been designed to use fully immersed in water.
The use of sealants and silicones is not recommended, as they may affect the product.
3. INSTALLATION:
The installation of the niche is recommended in areas that are accessible from the upper edge of the pool, approximately
400-700 mm from the surface of the water (Fig. 1).
In order to prevent glare, the projector s should be installed so that they face away from the residence or usual view of the
swimming pool.
In the event that lighting is used in training or competition pools, the projector s should be installed on the sides to prevent
glare on the swimmers.
In order to light a pool correctly, installing a lamp for every 25 m 2 of water surface is recommended.
NB: This recommendation applies to light coloured pools. In dark coloured or stainless steel pools, overestimating the ratio
of lamps per m 2 is recommended.
The method required to fasten the niche to the wall of the pool varies depending on the type of pool:
Concrete pool (59813):
Embed the niche into the vertical wall, making sure that "TOP" is positioned in the upper section. Gunite and position the
embeddable tile with the edge of the niche. (Fig 2)
It is possible to screw the ring to the wall of the pool by using the plugs and screws provided, but it is not necessary for
a normal installation.
Prefabricated pool or pool with liner (59814, 59815):
Make holes in the panels or pool as shown in Fig. 3.
In all types of pool, it is very important that the section on the niche marked. No error made in installing the niche can
be subsequently corrected.
In panelled swimming pools, install an adhesive joint between the niche and the panel. Through the inside of the panel
fasten the parts with the DIN 7981 screws (4.8 x 16), install the second adhesive joint between the panel and the liner,
and, once the liner is in position, install the clamp with the relevant screws.
Installation with a corrugated tube is recommended (Fig. 4) for embedded piping M-25 (option 1). A cable grommet, with
code "28138" (option 2), can also be installed.
Once the niche is installed, the projector can be assembled.
4. ASSEMBLY AND FUNCTIONING WARNINGS:
• It is not recommended the use of sealing putty in this product and, anyway, you should use only products specifically
conceived to work with ABS, all those products of universal use remain excluded.
• This niche is seawater resistant.
• This niche is resistant to pool treatments described below, always that the concentration values do not exceed the
following levels:
Chlorine
Bromine
Attention : Please note that the Ph of pool water always must be between 7.2 and 7.6.
Code 59814 / 59815
• Niche
• 2 adhesive joints
• Clamp
• Bag of screws
• Bag of parts
• Assembly manual
TYPE OF TREATMENT
CONCENTRATION IN WATER
2 g/l
5 g/l
2
