ASTRO-PHYSICS RAPAS Manual de instrucciones - Página 3
Navegue en línea o descargue pdf Manual de instrucciones para Adaptador ASTRO-PHYSICS RAPAS. ASTRO-PHYSICS RAPAS 6 páginas. Right-angle polar alignment scope
900 mounts
(Illustration page 2) – Use RAP900
Start by removing the 900 mount's Polar Axis Rear Cap (M9403 or M12666) and the Polar Alignment Scope Plug (M4037),
if it has one. (Neither of these two parts will be used with the new configuration.) When unscrewing the Polar Alignment
Scope Plug (M4037) be sure to ONLY remove the M4037. Do not allow the bearing thrust plate behind it to turn! Next,
remove the three Allen screws that secure the existing rear plate. Be careful that you do not alter its orientation (the holes
must continue to line up to the threaded holes beneath). The old plate
Adapter
Push Screw (3)
Attachmnet
Hole (3)
RAPAS
Attachment
Alignment
Hole (3)
Hole
must always remain attached to the mount. Only the RAPAS itself will be
removed. Reference the above photos left and right.
Mach1GTO (serial # M10669 and earlier) –
Unscrew the Mach1GTO's Polar Scope Adapter which is located at the rear of the Polar axis. It will be not be used in
the new setup. Note that the RAPM1 Adapter for the Mach1GTO is a two-part adapter. You must first separate the two
Alignment
Push Screw
Hole
(3)
RAPAS
Adapter
Attachment
Separation
Holes (3)
Screw
(3)
Once the line is vertical, tighten the three tiny set screws (tighten the top
screw first while the level is still in place) using the 0.050" hex key from the
Alignment
Line
Thread Lock Screws
(3)
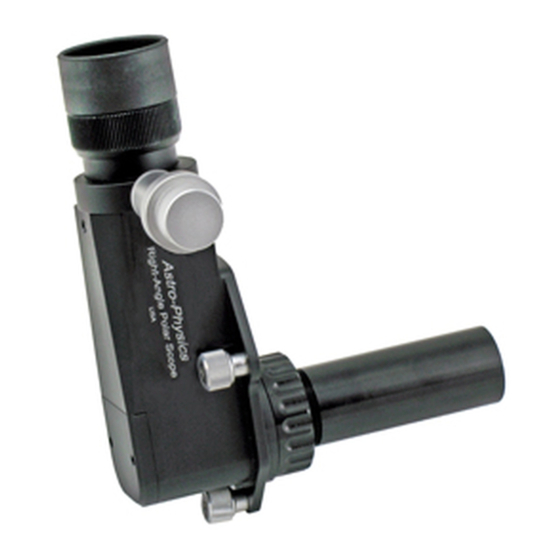
Attaching the RAPAS:
The Right-Angle Polar Alignment Scope is then inserted into the new adapter. Orient it such that the eyepiece is upright
and the registration pin(s) insert(s) into the alignment hole(s) of the adapter. Now tighten the three thumb screws in order
to secure the RAPAS in place. You may find it easier to use a Phillips #2 screwdriver to lightly tighten the screws. Be
sure that the RAPAS is fully seated.
must remain in place and will be
sandwiched between
the rear of the axis
and the new adapter.
M4037
Use the new 10-32 x
5/8" screws (longer
than the originals) that
are supplied to attach the RAP900
to the existing rear plate. Be careful
to orient the adapter so that the
single RAPAS alignment hole (it is
not a through-hole) is towards the
top. Secure the adapter in place
and you are finished. This adapter
Use RAPM1
parts before attaching to the mount.
Next, screw the inner adapter onto the
mount. Notice the line etched on the
inner adapter's surface. This line must
be oriented vertically. Simply screw the
adapter fully onto the polar axis and
then back it off until the line is vertical
and towards the top. This is more easily
done by putting the mount into a zero
degree altitude position. If you back
out the lower two set screws that lock
the threads of the adapter, then you
can place a level across the screws and
accurately position the line.
hex key set that
was shipped with
your mount. This will lock the adapter in place so that it does not
turn. Now replace the second part of the adapter and secure with
the three socket head screws. This part of the adapter must be
oriented so that the RAPAS alignment hole (this is not a through-
hole) is towards the top. This adapter must always remain
Back Out
attached to the mount. Only the RAPAS itself will be removed.
Screws
Reference the photos above left and right.
3
Push Screws (3)
Attachment
Screws (3)
Thumbscrews (3)
Push Screws (3)
Thumbscrews (3)
Attachment Screws (3)