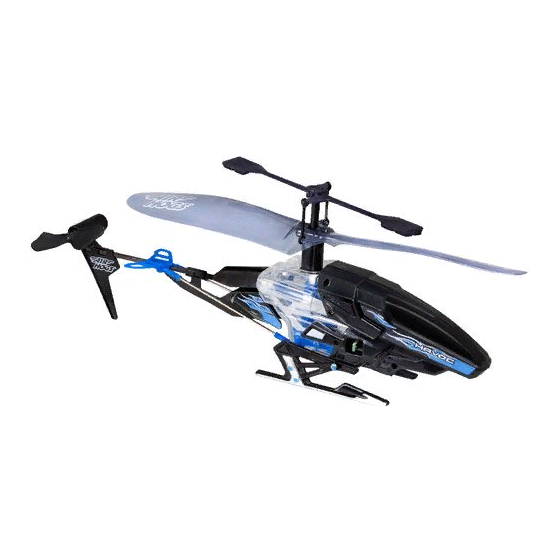
Air Hogs Micro Havoc Heli Manual - Página 2
Navegue en línea o descargue pdf Manual para Juguete Air Hogs Micro Havoc Heli. Air Hogs Micro Havoc Heli 4 páginas.

BATTERY INSTALLATION – CONTROLLER/CHARGER
Make sure the power switch is in the "OFF" position.
1. Use a Phillips head (Cross-Head) screwdriver to loosen the screws on the battery case anti-clockwise (pic.1).
2. Put 4 AA size batteries in the battery compartment as per the polarity shown inside (pic.2). 3. Tighten the screw clockwise (pic.3).
1. Pull out the cover and take out the charging wire. (pic.4)
2. Turn off the power to the helicopter. Insert the charging plug into the socket on the bottom of the helicopter. (pic.5)
3. Turn on the power to the controller/charger.
4. The green LED will light up when charging (pic.6). Once completed, the green LED will turn off. Pull the plug out of the socket on the helicopter.
5. The helicopter will have about 5-6 minutes of flight time after 20-30 minutes of charging.
Note: Before you recharge the battery, wait for 10-15 minutes to let the battery cool down.
- Set the band on your controller/charger to the same as on the bottom of the helicopter.
- Set the ON/OFF switch on the helicopter to "ON", the power indicator will flash, BE SURE THE CONTROLLER/CHARGER IS "OFF" when turning on the helicopter.
- Place the helicopter on the ground with the tail pointing towards you and the nose facing away from you.
- Set the left stick on the controller/charger to MINIMUM throttle, and then set the power to "ON".
1. TRIMMING YOUR HELICOPTER:
STEP
Gently push the throttle up to raise your helicopter 1.5 ft to 3.25 ft high off the ground.
ONE
If your helicopter turns CLOCKWISE, continue to push the LEFT side of the trim REPEATEDLY until the turning stops
and the helicopter flies straight.
STEP
TWO
Spiral clockwise
If your helicopter turns COUNTER CLOCKWISE, continue to push the RIGHT side of the trim REPEATEDLY until the turning stops
and the helicopter flies straight.
STEP
THREE
Spiral counter clockwise
2. CHOOSE AN IDEAL FLIGHT ENVIRONMENT
Choose the place which meets the following conditions:
1. Indoor environment with calm air-conditioning. Beware of the air circulation from the air-conditioner.
2. Space area: It is recommended to have space area over 10 ft (W) x 16.5 ft (L) x 8 ft (H).
3. Safety area: It is highly recommended that there is no electric fan, air-conditioner, reading lamp or other dangerous obstacles while flying.
HOW TO INSTALL YOUR BATTERIES
pic.1
pic.1
HOW TO CHARGE YOUR MICRO HAVOC HELI™
pic.4
HOW TO FLY YOUR MICRO HAVOC HELI™
or
Keep turning clockwise
or
Keep turning counter clockwise
pic.2
pic.2
CHARGE
A B C
pic.5
pic.5
L - ST TRIM - R
L - ST TRIM - R
pic.3
pic.3
POWER
OFF ON
L - ST TRIM - R
pic.6
pic.6
NOTE: Your Micro Havoc Heli™
loses its trim EVERY time you turn
it off. So remember these helpful
tips to stabilize it every time!
