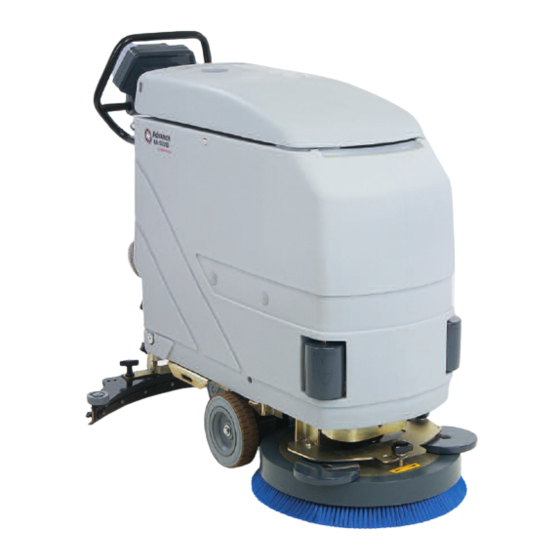
Advance acoustic BA 5321 Manual de instrucciones - Página 6
Navegue en línea o descargue pdf Manual de instrucciones para Fregadora Advance acoustic BA 5321. Advance acoustic BA 5321 6 páginas.

4. Turn quickly ON/OFF the brush motor so that the
brush/pad holder is disengaged. Rinse it with clean water
and store it dry.
5. Remove the squeegee and rinse it with clean water.
6. Check the maintenance schedule and perform any
required maintenance before storage.
7. Store the machine in a clean, dry place.
CAUTION!
(I) DO NOT TILT THE TANK BACKWARDS
BEFORE EMPTYING IT
BATTERY DISCHARGE CONTROL
A deep discharge protection prevents batteries from being
discharged too much.
How it works:
•
Flashing RED LIGHT:
•
Constant RED LIGHT:
Machine should be used again after the batteries are fully
charged.
(J) CHARGING THE BATTERIES
•
Charge the batteries when the battery condition indicator
is flashing RED.
•
Push the connector from the charger into the battery
connector / charger plug on the batteries. Follow the
instructions on the battery charger.
CAUTION!
Do not allow the batteries to sit in a discharged condition. This
reduces the battery life.
Check the batteries at least once a week.
WARNING!
Charge batteries in a well ventilated area.
Do not smoke while servicing the batteries.
CAUTION! (WET BATTERIES ONLY)
•
Do not fill the batteries with distilled water before
charging.
•
To avoid damage to floor surfaces, wipe water and acid
from the top of the batteries after charging.
•
After charging, remove the vent caps and check the water
level in each battery cell.
•
Use distilled water to fill each cell to the level indicator (or
to 10 mm (3/8") over the top of the separators). DO NOT
over-fill the batteries!
•
Acid can spill onto the floor if the batteries are overfilled.
•
Tighten the vent caps. Wash the tops of the batteries with
a solution of baking soda and water (2 tablespoons of
baking soda to 1 liter / 1 quart of water).
(K) TROUBLESHOOTING
There is no power. Motors do not work
1. Check cable connections
2. Charge batteries
3. Check charger
4. Defective switch or motor
5. Check fuses
Battery must be charged
Brush/Vacuummotor will stop
Poor water pick up
1. Recovery tank full, float shut-off closed
2. Blocked vacuum system (squeegee hose and float cage)
3. Disconnected or damaged vacuum hoses
4. Squeegee blades worn or damaged
5. Tank cover not seated properly
6. Turbine pre-filter dirty
Squeegee streaks
1. Debris under the squeegee blade
2. Worn, nicked or torn squeegee blade
TRANSPORT
Transport the machine in a car, van or truck only in a locked
position
MAINTENANCE SCHEDULE
Maintenance Item
Clean the recovery tank . . . . . . . X
Clean the float screen . . . . . . . . . X
Clean the solution tank . . . . . . . . X
Clean solution filter . . . . . . . . . . . X
Clean the squeegee . . . . . . . . . . X
Inspect tanks and hoses. . . . . . . X
Charge the batteries after use. . . X
Clean vacuum pre-filter. . . . . . . . X
Check battery water level . . . . . . . . . . . . . . X
Check brush/pad and padholder . . . . . . . . X
Check vacuum motor . . . . . . . . . . . . . . . . . . . . . . . . . . X
PARTS AND SERVICE
Repairs, when required, should be performed by Advance
service personnel using original replacement parts and
accessories.
Call Advance for repair parts or service. Please specify the
Model and Serial Number when discussing your machine.
20
Daily
Weekly
1/2 Yearly
