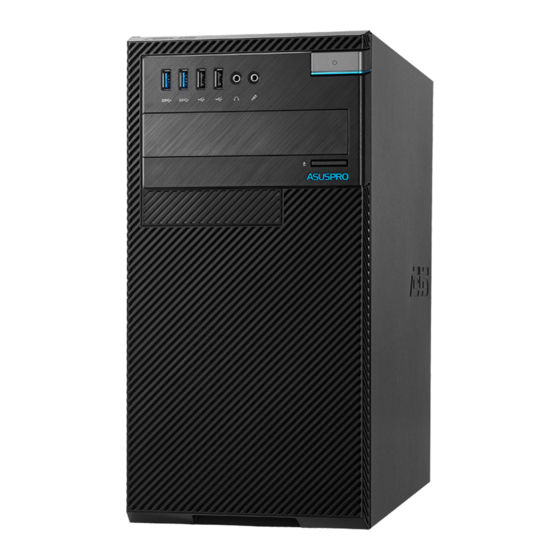
Asus BM2CD Manual de instalación
Navegue en línea o descargue pdf Manual de instalación para Escritorio Asus BM2CD. Asus BM2CD 2 páginas.
También para Asus BM2CD: Manual de instalación (2 páginas), Manual de instalación (2 páginas), Manual de instalación (2 páginas)

Desktop PC Installation Guide
A
D520MT/ BM2CD
D521MT/ MD330/ BM3CD
D520SF/ SD330/
B
BP1CD
A
B
D520MT/BM2CD
A
B
D521MT/ MD330/ BM3CD
RATING for D520MT/ BM2CD and D521MT/ MD330/ BM3CD:
115/230Vac, 50-60Hz, 6/3A or
220-230Vac, 50Hz, 3A or
230Vac, 50Hz, 3A or
100-120Vac, 50-60Hz, 8A
RATING for D520SF/ SD330/ BP1CD:
115/230Vac, 50-60Hz, 6/3A
•
Obtain the detailed User Manual and Declaration of Conformity (DoC) from the ASUS support site at http://support.asus.com.
•
請至華碩支援網站 http://www.asus.com/tw/support 獲得詳細的使用手冊以及符合標準聲明(DoC)。
•
請至華碩支持網站 http://www.asus.com/cn/support 獲取詳細的用戶手冊以及符合標準聲明(DoC)。
ETC12380_D520MT_MD330_D520SF_QSG_V2.indd 1
1
•
Connect devices.
•
連接裝置。
•
連接設備。
D520SF/ SD330/ BP1CD
2
•
A.
Select the system input voltage.
If the voltage supply in your area is 100-127V, set the voltage selector to 115V.
If the voltage supply in your area is 200-240V, set the voltage selector to 230V.
B.
C onnect one end of the power cord to the power connector and the
other end to a wall power outlet.
• A.
選擇系統輸入電壓。
若您所在地區的電壓為 100-127V,請將電壓選擇器調至 115V。
若 您所在地區的電壓為 200-240V,請將電壓選擇器調至 230V。
B.
將電源線一端連接至電源連接埠,另一端連接至電源插座。
• A.
選擇系統輸入電壓。
若您所在地區的電壓為 100-127V,請將電壓選擇器調至 115V。
若您所在地區的電壓為 200-240V,請將電壓選擇器調至 230V。
B.
將電源線一端連接至電源接口,另一端連接至電源插座。
WARNING / 警告 / 警告:
•
Setting the voltage selector wrong may seriously damage your system.
•
電壓選擇器設定錯誤可能會損毀您的系統。
•
電壓選擇器設置錯誤可能會損壞您的系統。
額定輸入(台灣):
115Vac、50-60Hz、6A
額定輸入(中國大陸):
D520MT/ BM2CD 和 D521MT/ MD330/ BM3CD:
220-230Vac、50、3A
220Vac、50、3A
D520SF/ SD330/ BP1CD:
220-230Vac、50、3A
15060-92103100
3
D521MT/ MD330/ BM3CD
D520MT/BM2CD
WARNING / 警告 / 警告:
•
Use this product in environments with an ambient temperature between 5˚C and 40˚C.
Openings on the chassis are for ventilation. DO NOT block or cover these openings.
•
推薦您在環境溫度為 5˚C ~ 40˚C 情況下使用本產品。
機殼上的孔是用來通風的,請勿堵塞或蓋住這些通風孔。
•
推薦您在環境溫度為 5˚C ~ 40˚C 情況下使用本產品。
機箱上的孔是用來通風的,請勿堵塞或蓋住這些通風孔。
RTC(Real-Time Clock 即時時鐘)電池如果更換不正確,會有爆炸的危險,請依照製造商說明書使用相同或同款式電池,並請依照製造商指示處
D520SF/ SD330/ BP1CD
Power button / 電源按鈕 / 電源按鈕
USB 3.0 port / USB 3.0 連接埠 / USB 3.0 接口
Microphone port / 麥克風插孔 / 麥克風插孔
USB 2.0 port / USB 2.0 連接埠 / USB 2.0 接口
Headphone port / 耳機插孔 / 耳機插孔
5.25 inch optical disk drive bay / 5.25 吋光碟機插槽 /
5.25 英寸光驅插槽
Optical disk drive eject button(optional) / 光碟機彈
Memory card reader(optional) / 讀卡機
出按鈕(選配) / 光驅彈出按鈕(選配)
(選配) / 讀卡器(選配)
D520MT/BM2CD
USB 3.0 port / USB 3.0 連接埠 / USB 3.0 接口
Headphone port / 耳機插孔 / 耳機插孔
Microphone port / 麥克風插孔 / 麥克風插孔
•
Illustrations are for reference only. Actual product specifications may vary.
•
圖示僅供參考,可能與實際產品規格略有差異。
•
圖片僅供參考,可能與實際產品規格略有差異。
E12380 / Second Edition / December 2016
•
Press the power button to turn on the system.
•
按下電源按鈕以開啟系統。
•
按下電源按鈕以開啟系統。
鋰電池安全警告
理用過的電池。
5.25 inch optical disk drive bay / 5.25 吋光碟機插槽 /
5.25 英寸光驅插槽
Optical disk drive eject button(optional) / 光碟機彈
出按鈕(選配) / 光驅彈出按鈕(選配)
Power button / 電源按鈕 / 電源按鈕
USB 2.0 port / USB 2.0 連接埠 / USB 2.0 接口
D521MT/ MD330/ BM3CD
5/9/2017 12:47:00 AM
