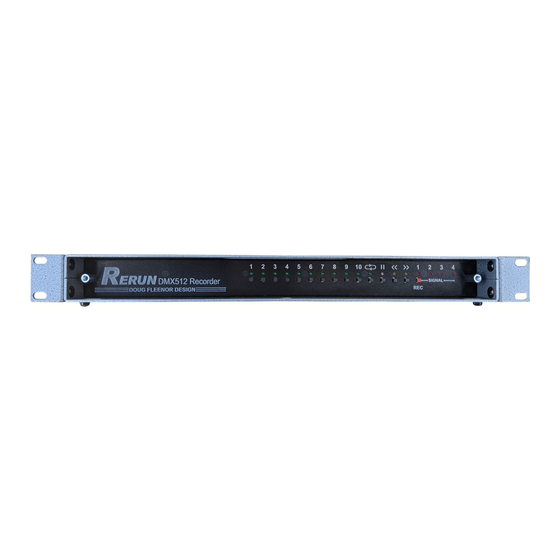
Doug Fleenor Design RERUN-R4 Manual del usuario - Página 10
Navegue en línea o descargue pdf Manual del usuario para Equipos de grabación Doug Fleenor Design RERUN-R4. Doug Fleenor Design RERUN-R4 12 páginas. Rackmount dmx512 recorder

EDITING SHOW PARAMETERS
Cross fading
Each show can have the cross fade function enabled or disabled. When enabled (the default state), the
show will execute a two second fade from the current levels to the levels at the START POINT of the show
when that show is selected. When cross fading is disabled for a show, the levels will jump immediately
from the current levels to the levels at the START POINT of the newly selected show.
To enable or disable cross fading, do the following:
1.
Start playing the show to be edited.
2.
Pause the show at any point.
3.
Press and hold the number 10 [SHOW] button. Hold the number 10 [SHOW] button for about
five seconds. While held, the remaining [SHOW LEDS] will indicate the status of other show
and system parameters. The number 3 [SHOW LED] indicates the status of the cross fade
option for that show. While continuing to hold the number 10 [SHOW] button, press the number
3 [SHOW] button to toggle the state of the option. When the number 3 [SHOW LED] is lit, the
cross fade option is enabled. Set the cross fading option as desired.
4.
Release the number 10 [SHOW] button.
5.
Press the [PAUSE] button to save the new settings and to resume the show. The next time the
show is selected, it will start using the cross fade option as just recorded.
The show crossfade feature only operates on universe 1. Other universes 2 do not have crossfade
capability at this time. It is recommended that the crossfade attribute be turned off in each show after it has
been recorded. If the crossfade attribute is enabled, universe 1 will fade to the first frame of a show in 2
seconds and then begin running the show. Other universes will continue to send their last values during
the fade and then they will run properly as the show begins running. With the crossfade attribute disabled,
all universes will start running at the same time.
End of show output
When a show is set to stop running at the END POINT (not looping) the behavior of the Rerun Rackmount
can be set up in two different ways. By default, a show stops at its END POINT and the Rerun Rackmount
continues to send the last levels of that show until a new show is selected. Each show can be set up to
stop sending DMX512 data entirely at the end of the show. Stopping DMX512 data at the end of the show
is enabled on show 10 by default and disabled on all other shows. By going off-line, many moving lights
and dimming systems will detect the loss of DMX512 and begin their shut down routines.
To alter the end-of-show behavior, do the following:
1.
Start playing the show to be edited.
2.
Pause the show at any point.
3.
If it is not disabled already, disable looping for the show (Looping section above).
4.
Press and hold the number 10 [SHOW] button. Hold the number 10 [SHOW] button for about five
seconds. While held, the remaining [SHOW LEDS] will indicate the status of other show and
system parameters. The number 2 [SHOW LED] indicates the status of the end-of-show output
option for that show. While continuing to hold the number 10 [SHOW] button, press the number
2 [SHOW] button to toggle the state of the option. When the number 2 [SHOW LED] is lit, the
Rerun Rackmount will stop DMX512 output at the end of the show. When the number 2 [SHOW
LED] is off, the Rerun Rackmount will continue sending DMX512 at the end of the show. Set the
end-of-show transmission option as desired.
5.
Release the number 10 [SHOW] button.
6.
Press the [PAUSE] button to save the new settings and to resume the show.
Note:
!
The end-of-show behavior will only apply if the show has looping disabled.
(CONTINUED)
Page 10 of 12
