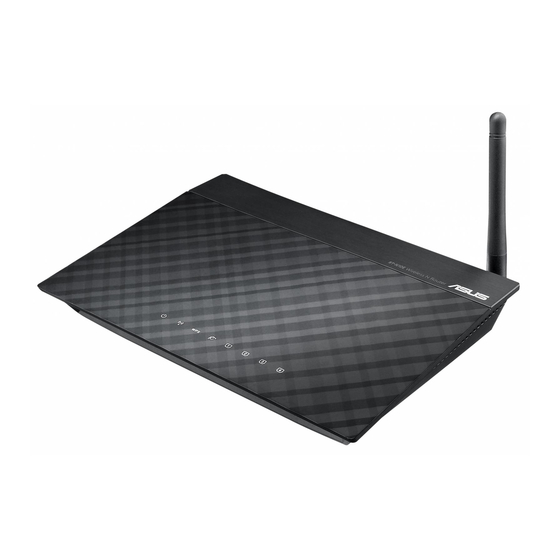
Asus RT-N10E EZ N Manual del usuario - Página 34
Navegue en línea o descargue pdf Manual del usuario para Router inalámbrico Asus RT-N10E EZ N. Asus RT-N10E EZ N 46 páginas. 11n wireless router
También para Asus RT-N10E EZ N: Manual de inicio rápido (22 páginas)

Problem
Cannot access the Internet
via wireless LAN adapter.
Internet is not accessible.
When ADSL Modem "Link"
light is ON (not blinking), this
means Internet Access is
possible.
If the ADSL "LINK" light blinks
continuously or stays off,
Internet access is not possible
- the Router is unable to
establish a connection with
the ADSL network.
Network name or encryption
keys are forgotten.
RT-N10E
•
Move the router closer to the wireless client.
•
Check whether the wireless adapter is
connected to the correct wireless router.
•
Check whether the wireless channel in use
conforms to the channels available in your
country/area.
•
Check the encryption settings.
•
Check if the ADSL or Cable connection is
correct.
•
Retry using another Ethernet cable.
•
Check the status indicators on the ADSL
modem and the wireless router.
•
Check if the WAN LED on the wireless
router is ON. If the LED is not ON, change
the cable and try again.
•
Restart your computer.
•
Refer to the Quick Start Guide of the
wireless router and re-configure the settings.
•
Check if the WAN LED on the wireless
router is ON.
•
Check the wireless encryption settings.
•
Check if the computer can get the IP
address (via both wired network and
wireless network).
•
Ensure that your web browser is configured
to use the local LAN, and is not configured
to use a proxy server.
•
Ensure that all your cables are all properly
connected .
•
Disconnect the power cord from the ADSL
or cable modem, wait a few minutes, then
reconnect the cord.
•
If the ADSL light continues to blink or stays
OFF, contact your ADSL service provider.
•
Try setting up the wired connection and
configuring the wireless encryption again.
•
Press the Restore button at the rear panel
of the wireless router for more than five
seconds.
Chapter 6: Troubleshooting
Action
