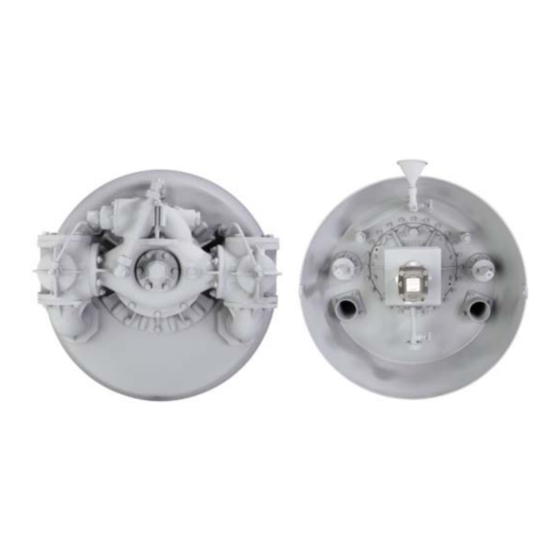
Dover PSG MOUVEX SUBMERGED AM UNIT ON PLATE Instalación Funcionamiento y mantenimiento - Página 11
Navegue en línea o descargue pdf Instalación Funcionamiento y mantenimiento para Bomba de agua Dover PSG MOUVEX SUBMERGED AM UNIT ON PLATE. Dover PSG MOUVEX SUBMERGED AM UNIT ON PLATE 13 páginas. Submerged am unit on plate

8. DISMANTLING AND REASSEMBLY (continued)
8.1 Cover dismountling
Remove bolts of flange 58 from drain valve 53.
Remove circular flap door in insulation so as to gain
access to pump cover.
Remove nuts from cover studs 206.
Remove cover 401 by slowly disengaging it from pump
housing, using the 2 threaded holes proved in cover if
required.
The cover is removed with piston 301, shaft 501 and
packing.
8.2 Piston dismountling
Remove binding hoop 521 using binding hoop nut to loo-
sen it.
Free piston 301 sliding it along the shaft.
8.3 Shaft an packing dismountling
Remove screws 706 and washers 721.
Remove cover 705 with its seal 707.
Remove shaft by rapping it slightly with a mallet on its
end opposite the drive side.
Remove spacer 746, retaining ring 704 and washer 731,
in that order, then remove the assembly including bea-
ring cage 701, bearing 703, protection ring 733 by tap-
ping on shaft drive end.
Then remove seal 605, counterplate 604 and afterwards
one-piece rotary assembly 697.
NT 1010-I00 03 18 Submerged AM unit on plate e
8.4 Reassembly
Check seals of one-piece rotary assembly 697, seals
605 and 707 for good condition.
Check new parts for condition of mating faces of counter-
place 604 and one-piece rotary assembly 697.
Install all parts on shaft in reverse order from dismoun-
ting.
Be careful to fit the two tongues of one-piece rotary
assembly 697 in the slots on shaft 501.
Make sure stop in 627 fits into the housing provided on
counterplace 604.
Place in position retaining ring 704.
Install packing and shaft-bearing assembly on pump
together with seal 717. Do not omit it, being careful to
position one of the leak evacuation connection down-
wards.
Place in position cover 705 with its seal 707, being careful
not to cut the lip of this seal on shaft hey-groove, then
install screws 706 with washers 721.
11/13
