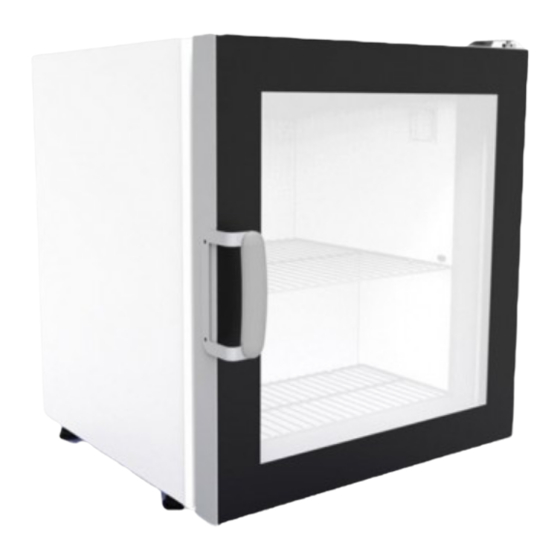
CombiSteel 7472.0200 Manual del usuario - Página 6
Navegue en línea o descargue pdf Manual del usuario para Congelador CombiSteel 7472.0200. CombiSteel 7472.0200 7 páginas. Glass door countertop freezer for ice cream

Β) If you want to replace the LED light or the advertising sign on the upper part of your appliance do that as follows:
(Figure 5):
•
Unplug the appliance.
•
Unscrew the 2 screws located on the side part of the advertising sign, put off the plastic side-cover, squeeze
and pull the sign slightly outwards. In order to do this you have to push the electrical thermometer from the
inside, and put it off the sign. The sign could then be pulled outwards.
•
Replace the LED light and repeat the steps in the inverse order so that your appliance gets back in operation.
C) If the door does not close satisfactory (does not revert or does not secure properly) you may proceed as follows:
D) If the feed cable is damaged, it must be replaced by the manufacturer or a qualified person from the service
department, or by similarly specialized personnel, in order to avoid danger.
E) Do not cause any damage to the cooling circuit by the intervention of unauthorized personnel. Advise the
manufacturer and assign such works only to specialized technicians.
NOTE: Our Company has an organized network of qualified technicians throughout Greece. For any maintenance or
operation problem, contact your retailer.
Keep this booklet as well as all documents provided with your appliance and read the guarantee
terms carefully.
• Place a sharp object - such as a small screw driver, stabber, nail etc - in one
of the holes which are located at the bottom of the torsion bar, which is located
on the down side of the door above the bottom hinge.
• By applying resistance with the stabber, unscrew with the screwdriver the
kingpin which is screwed on the top of the torsion bar (figure 6). ATTENTION,
HOLD THE SHARP OBJECT STEADY TO AVOID AN INJURY BECAUSE THE SPRING
IS UNDER TENSION.
• By using a sharp object, turn the top of the torsion bar anticlockwise until
you are able to screw promptly the kingpin in the next hole. After you screw the
kingpin remove the sharp object.
• Examine if the door secures satisfactorily following the above mentioned
procedure. If not, repeat the above mentioned steps.
6
