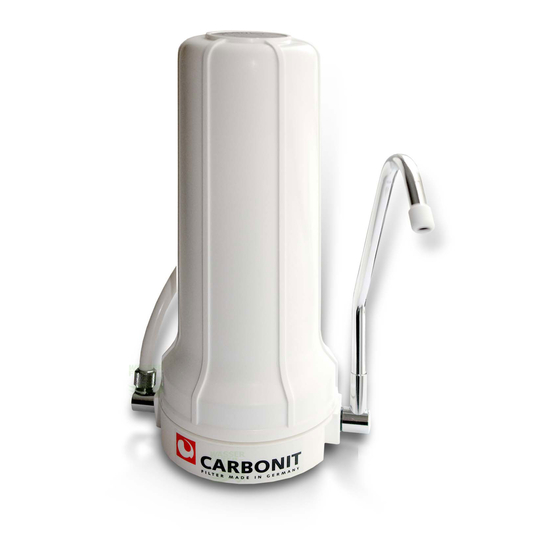
carbonit SANUNO Instalación
Navegue en línea o descargue pdf Instalación para Sistemas de filtración de agua carbonit SANUNO. carbonit SANUNO 2 páginas.

1
Before the Installation
Fresh spring water at home – the CARBONIT water filter fulfils this wish.
Enjoy the quick and easy taste of a healthy quencher from your home
water-tap. The handy, flexible and compact device allows quick and easy
installation.
CARBONIT SANUNO is the most popular drinking water filter by Carbonit.
In a short time it will be installed on every sink.
Supply of delivery
The filter package CARBONIT SANUNO also includes a filter device with
connecting hose, a diverter valve, the adapter for the installation of the
valve as well as a Carbonit Monoblock NFP Premium filter cartridge (resp.
NFP Clario).
Warning!
Consider during the installation: Never operate the device with warm or
hot water or behind a de-pressurised boiler shower hose armature.
2
Installation of the Filter
filter housing with filter
integrated water-tap
connecting hose
adapter
diverter valve
The upper part of the housing is unscrewed
and removed from the supporting foot. The
filter cartridge will appear..
Remove the protecting foil from the filter
cartridge.
The housing is unscrewed again in clockwise
direction. Warning: Ensure that the seal of the
housing do not twist when closing the housing.
Close water-tap and place SANUNO on a
plane ground!
A small mesh is in the water-tap, the so-
called aerator (e.g. Perlator® by Neoperl).
Unscrew it from the water-tap
Installing the diverter valve: If the water-tap is
fitted with an external thread, you can connect
the valve directly to the water-tap. Otherwise,
use the enclosed adapter for installation.
The connecting hose connects the water-tap
and the filter. One end is screwed to the foot of
the filter and the other end is screwed to the
diverter valve.
The filter is turned upside, the lever at the
diverter valve is brought into horizontal position
(which guides the water through the filter) and
the water-tap is turned on: Water flows through
the filter, the air inside the housing is
completely removed. The valve regulator
allows controlling the water flow rate.
Check the installation for leaks. If required, re-
tighten the connections between the hose,
water-tap and filter. To activate the filter let
water flow through the filter for about five
minutes. A small amount of carbon dust may
run off. This is normal and harmless.
Now, you can set the filter on its foot, –
SANUNO is ready for operation. SANUNO
provides the optimal quencher – fresh spring
water supplied directly from the water-tap.
3
Changing the Cartridge
To ensure clean and fresh water at any
time, change the filter cartridge after six
months. The enclosed label shall remind
you to change the filter cartridge.
1
Close the water-tap and remove the
housing from the filter foot above the sink by
turning it in counter-clockwise direction
(water flows when opening the housing!).
Remove the used cartridge..
The new filter cartridge is equipped with
green caps and flat seals at its ends. One of
the green caps has a hole. Remove the flat
seal directly positioned on the cap hole – it is
not needed for the SANUNO filter• ] system.
To fit the new cartridge, turn the filter
housing upside, insert the new cartridge
with its closed side (and sealing) faced-
down, lay the O-ring over the edge of the
filter cup and close the housing.
Repeat the last steps described regarding
the cartridge activation and filter ventilation
for initial setup of the filter system.
