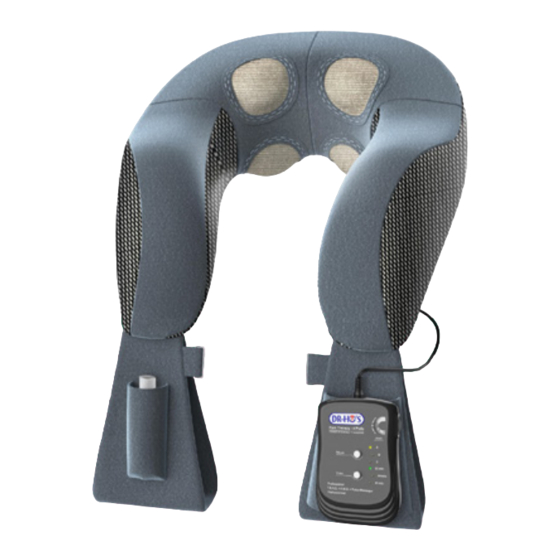
DR-HO'S NECK PAIN PRO Manual rápido - Página 3
Navegue en línea o descargue pdf Manual rápido para Equipamiento médico DR-HO'S NECK PAIN PRO. DR-HO'S NECK PAIN PRO 15 páginas.
También para DR-HO'S NECK PAIN PRO: Manual rápido (15 páginas)

4
Insert 2 AAA batteries in
1
the back of the device.
It is best to use alkaline
batteries.
Neck Pain Pro
2
Plug the wire firmly into
A
the top of the device.
Remove cloths, metal
B
necklaces and jewelry
around your neck.
For best results, apply the
C
conductive gel to your
neck and shoulders.
Apply generously
D
conductive gel over the
entire surface area and
edges of all 4 electrodes.
Rub the gel into the elec-
E
trodes with your fingers
and make sure they are
wet.
Place your arms in the
F
arm rests and pull the
Neck Pain Pro against
your neck. Lean back or
lay down.
Body pads
2
Please refer to the pad
A
placement chart on how
to position the large or
small format pads, depen-
ding on the area to be
treated.
Insert the plug from the
B
set of electrode pads into
the Pain Therapy Device.
Remove the transparent
C
protective film from both
electrode pads to expose
the self-adhesive gel
layer.
Spray the pads with con-
D
tact gel or water, using
the handy spray bottle
supplied.
Attach the pads to the
E
area of the body that you
wish to treat. Make sure
the pads do not touch
each other.
After using the pads, stick
F
the transparent film onto
the self-adhesive gel
layer again.
Comment:
The system ONLY works if
you attach both pads from the same set
to your body.
Portable foot pads
2
Each of the plugs are
A
attached to a foot pad
when they are delivered.
Insert the round plug into
the Pain Therapy Device.
Place the portable foot
B
relieve pads next to each
other on a solid or hard
floor the same distance
apart as your hips. They
should not touch each
other.
Spray both foot pads and
C
the soles of your feet with
gel to ensure good con-
duction, using the handy
spray bottle supplied.
Make sure you are sitting
D
comfortably and place
each of your feet on a
foot pad.
COMMENTS:
•
Do not use the portable foot relieve
pads as body pads but only for your
feet.
•
These portable foot pads are NOT
insoles and are not for orthopedic
use. You should therefore not insert
the pads into your shoes.
•
For optimal results, place the porta-
ble foot pads on a hard surface. Do
not use them on deep pile rugs and
carpets.
WARNINGS:
•
Do NOT use the large and small
format body pads as portable foot
relieve pads.
•
You can use the foot pads and the
body pads in combination with ALL
types of DR-HO'S pain alleviation
devices provided you have a Pain
Therapy Device.
•
Use the portable foot pads and the
foot base in bare feet. Do NOT wear
tights, stockings, socks or shoes
during use.
•
In order to work, you need to place
each of your feet on a portable foot
pad or on both pads of the foot base.
Turn the switch to 'ON'.
3
Then increase the in-
tensity slowly until your
muscles start moving of
their own accord.
Press to select modes
4
A, B or C. A flashing light
will indicate the selected
mode.
Press to switch timer to auto
5
shut-off after 10, 20 or 40 minutes.
To continue the treatment after
one session has ended, first turn
the device off and then back on
again.
Relax and enjoy!
5
