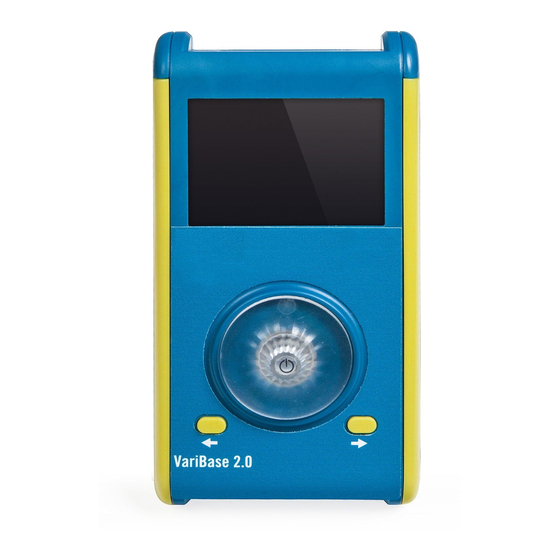
Dr. Clark VariZapper 2.0 Manual - Página 7
Navegue en línea o descargue pdf Manual para Productos de cuidado personal Dr. Clark VariZapper 2.0. Dr. Clark VariZapper 2.0 15 páginas.

The VariGamma 2.0
4. Instructions
4.1 Operating the device
4.1.1 How to insert the VariGamma Module 2.0
The VariGamma Module 2.0 has to be inserted into the top of the VariBase 2.0 (Fig. 1). After inserting
the Module, turn on (see 4.1.2 Turning ON/OFF ) the device and the system will check if the Module is
compatible with the current VariBase 2.0 firmware:
1. If it is compatible, the VariGamma 2.0 is started.
2. If it is not compatible because it needs an update (Fig. 2), please see:
3. If there is a problem with the Module, the message in Fig. 3 will appear.
NOTE: Please dismount any Module when the device is not in use, otherwise the battery will discharge quickly.
Fig. 1
4.1.2 Turning ON/OFF
To turn on the device, press the Turnwheel button (Fig. 4) at the center for about 5 seconds. As the
device turns on, the panel in Fig. 5 appears. Press the Turnwheel button for at least 5 seconds to turn
off the device.
Fig. 4
4.1.3 Connecting the VariGamma 2.0 (gel pads/wrist bands)
The contact surface between the skin and the chosen electrodes must be at least 8 cm
inches). The larger the contact surface, the better. Any electrodes may be used as long as they match
the specifications. Placement of the electrodes in the region of the upper body can increase the risk of
ventricular fibrillation. The VariGamma 2.0 is supplied with two options to connect the device to the
body:
Gel pads (Fig.6): Gel pads should not be placed in the following areas of the body:
close to the eyes, in the mouth, on the neck and head, near the heart or genitals,
except at direct order and under the supervision of a qualified, trained and
Fig. 6
authorized specialist. Gel pads should only be used on undamaged and clean
skin surfaces. Gel pads may be used several times. When they no longer stick or
the gel layer is dirty or worn off, they should be replaced.
Wrist bands (Fig. 7): Soak the yellow parts, then squeeze them, so that they
remain moist. Then strap them around the wrists, one on each side. They can
also be used around the ankles. Pay special attention when using wrist bands to
Fig. 7
be sure they are not so tight as to inhibit blood circulation.
1. Insert the cable jack into the VariGamma Module 2.0 on top.
2. Connect the black and red plugs to the electrodes and place them on the body.
3. Make sure there is good contact between the electrodes and the skin.
4. Select the program that you want to run and start it.
5. The device will check the connection of the electrodes.
If everything is OK, you will be asked to confirm and start the program.
6. In case of poor connection, the device will display the message in Fig. 8.
After re-checking connection, select one of the options.
Fig. 2
Fig. 5
4.1.4.1.2 Update firmware with microSD Card
Fig. 3
2
(1¼ square
Fig. 8
7
