Dr. Mach MACH 120 Series Instrucciones de montaje, modo de empleo - Página 15
Navegue en línea o descargue pdf Instrucciones de montaje, modo de empleo para Equipamiento médico Dr. Mach MACH 120 Series. Dr. Mach MACH 120 Series 19 páginas. Ceiling, wall, new-type stand model
También para Dr. Mach MACH 120 Series: Manual de instrucciones (19 páginas)
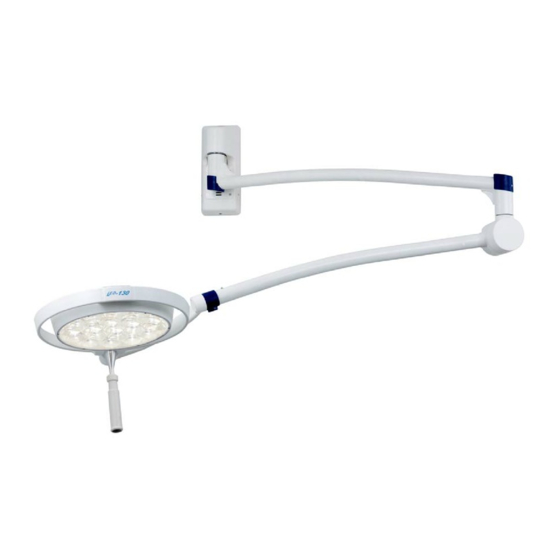
Wall attachment Mach 120/130
Mach LED 120/130
Springs are wearing parts, thus the spring force can decrease in time and must be readjusted.
Note: Set the spring force in such a way, that the spring arm with the lamp head holds its position
at every set height.
•
Dismount the lamp head in reverse order of mounting (see chapter 5.2).
•
Check the thickness of the segment. It must be at least 1,5mm. In case the thickness of the segment
is less than 1,5mm, it has to be changed.
•
Grease the segment and the coupling journal of the lamp.
•
Mount the lamp to the spring arm (see chapter 5.2).
59860002
7.2 Adjusting the spring force
B
A
B
7.3 Maintenance of the segment
Edition 11
In case the spring arm with the lamp moves
down on its own, proceed as follows:
•
Remove lateral cover A. The adjusting screw (B)
for the spring force is visible now.
•
Push the lamp and spring arm upwards as much
as possible, so the spring is without charge.
•
Insert a slotted screwdriver into the screw B.
•
Turn
the
adjusting
(anticlockwise), until the lamp holds its position
at every set height.
In case the spring arm with the lamp moves
up on its own, proceed as follows:
•
Remove lateral cover A. The adjusting screw (B)
for the spring force is visible now.
•
Push the lamp and spring arm upwards as much
as possible, so the spring is without charge.
•
Insert a slotted screwdriver into the screw B.
•
Turn
the
adjusting
(clockwise), until the lamp holds its position at
every set height.
25.25.2011 / Bak Page 15/19
Dr. Mach
Lamps and Engineering
screw
to
the
screw
to
the
right
left