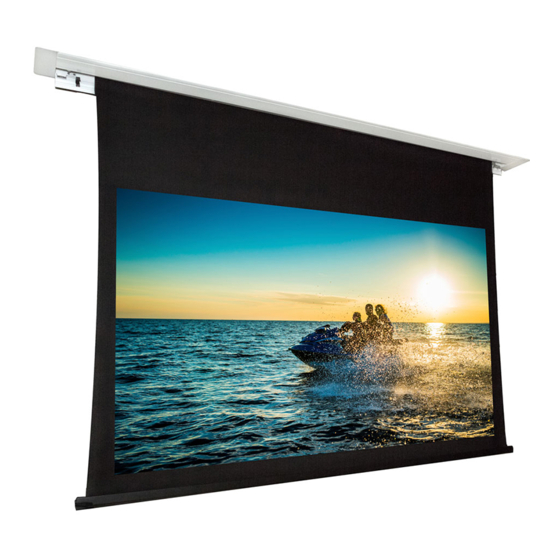
Dragonfly DFRM-TAB-100-HC Manual de instalación - Página 5
Navegue en línea o descargue pdf Manual de instalación para Pantalla de proyección Dragonfly DFRM-TAB-100-HC. Dragonfly DFRM-TAB-100-HC 9 páginas. Recessed in-ceiling motorized projection screen
También para Dragonfly DFRM-TAB-100-HC: Manual de instalación (17 páginas)

Step 6. Connect the Power Wiring
Warning: To avoid serious injury or death, power off electricity to the branch power circuit at the
breaker before connecting the screen wiring. High voltage electricity can damage the
screen and cause permanent injury or death!
Caution: The electrical wiring should be installed in accordance with local and national electrical
codes. Only a licensed electrician should complete the work. All work should be
approved by a licensed inspector.
1.
Grasp the power cord and the conduit as shown below, then pull the conduit until the white
cable clip separates from it. The cable clip can be discarded.
Pull
2. Open the cover of the junction box to make enough room for the extension of the power cord.
then connect the conduit to the screen housing and tighten it.
3. Position and mount the attached power junction box. Do not kink the flexible conduit during
installation.
Note:
Install the screen so the junction box is installed on the left side of the housing.
8
Step 7. Pair the RF Remote
Use the included remote for control of the screen from any direction. The remote uses AAA batteries,
which are included. If your remote will not operate the screen after installation, it may need to be
paired.
Discard
To pair the remote:
4. Open the junction box and connect the branch wiring circuit conductors using approved wire
nuts or connectors.
Color
Black
White
Green
1.
Watch the end of the remote for LED activity while pressing the
buttons to confirm if it's working.
2. Find the Manual Switch button hole inside the screen casing (far left
side).
3. Get a pointed object about 1/8" in diameter and at least 1/2" long
for pressing the button. Hold the remote in your opposite hand.
4. Press and hold the Manual Switch button until the screen moves
one inch up or down. Approximately five seconds.
5. Press and hold the up or down button on the remote, then press and
hold the Manual Switch button again until the screens moves about
one inch and stops. Approximately five seconds.
6. Test the remote's up and down functions. If the remote still does not
work, repeat this process.
Purpose
To 120V AC Line
Neutral
Ground
9
