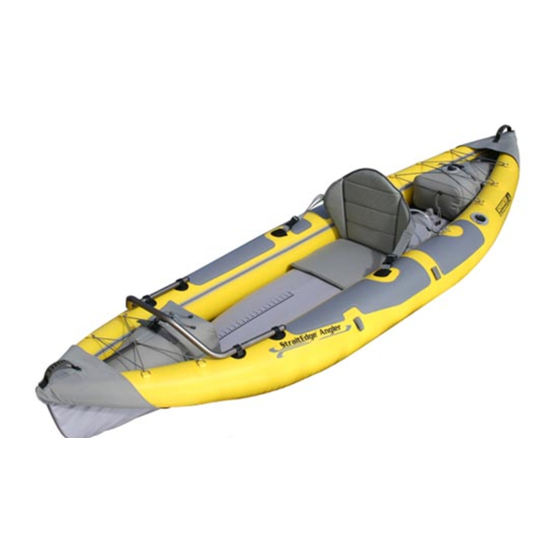
Advanced Elements StraitEdge AE1006-ANG Manual del usuario - Página 8
Navegue en línea o descargue pdf Manual del usuario para Barco Advanced Elements StraitEdge AE1006-ANG. Advanced Elements StraitEdge AE1006-ANG 20 páginas. Angler inflatable kayak

TM
2. Attach air bags to the outer cover by tightening the "air bag compression straps" and
buckling the "air bag buckle". Do this while the air bag is deflated. These are preset
at the factory and may not require any adjustment.
3. Attach the adjustable seat to the StraitEdge™ Angler side tubes by fastening the buckles and
clipping the steel snap hooks to the d-rings behind the seating area.
3.2 Accessory Mounting Rail
The Accessory Mounting Rail can be used with any aftermarket 1" round rail mount fishing rod
or accessory holders. The Accessory Mounting Rail does not need to be installed on the kayak if
you are not intending on using it for any rail mounted accessories.
Installation and Assembly
Make sure to install the Accessory Mounting Rail before inflation.
1. Make sure that the Accessory Mounting Rail is in 3 parts, you should have 2 Mounting Rail
Arms and 1 Cross-bar. If the Accessory Mounting Rail is assembled:
I. Locate the push-buttons at the sockets of the Mounting Rail Arms.
II. Depress the push-buttons and separate the Mounting Rail Arms from the Cross-bar.
2. Once you have the Accessory Mounting Rail in 3 parts, slide the Mounting Rail Arms through
the grommets located at the front of the kayak. Make sure that the push-button sockets are
pointed to the front of the kayak. (See Illustrations 1 and 2)
3. Socket the Cross-bar onto the Mounting Rail Arms. Make sure that the push-buttons pop
up through the holes on the Cross-bar. At this same time, make sure that the push-
buttons are positioned in between the two grommets, not in front of the forward grommets.
(See Illustrations 1 and 2)
4. To remove the Accessory Mounting Rail, press the push-buttons in at the sockets and separate
the Cross-bar from the Mounting Rail Arms, then slide the Mounting Rail Arms out of the
grommets.
8
